How to Make a Zipper Pouch
This post may contain affiliate links. Read our disclosure policy.
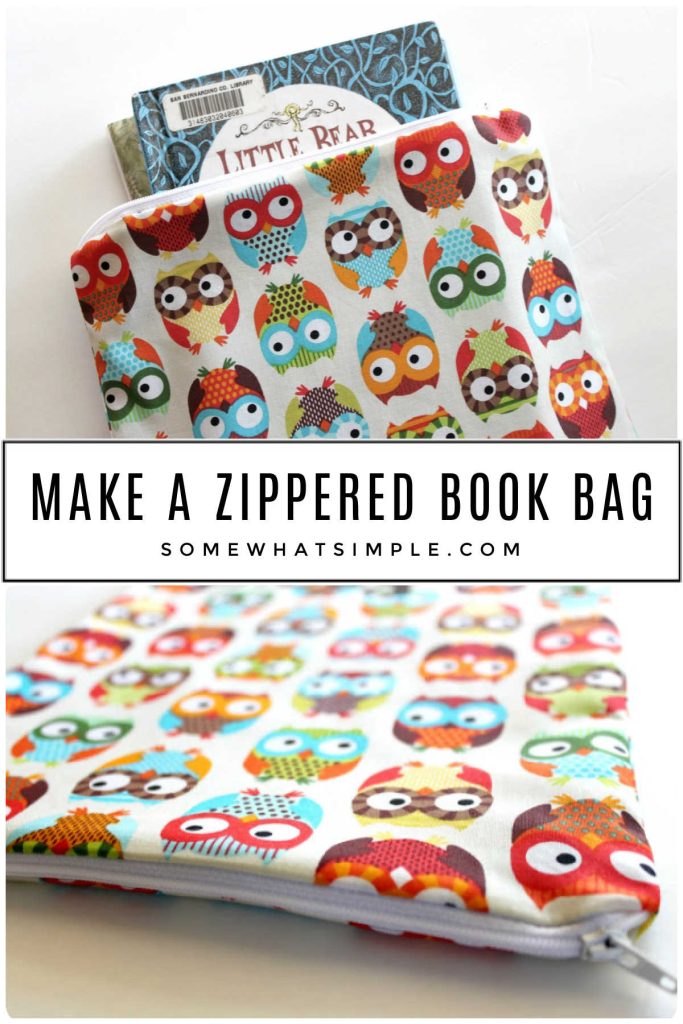
How to sew a simple zipper pouch that’s absolutely perfect to transport your kid’s school and library books!
Here are a few more reading activities we think you’ll love – Doorknob Mailbox, Printable Reading Log, and Family Reading Night.
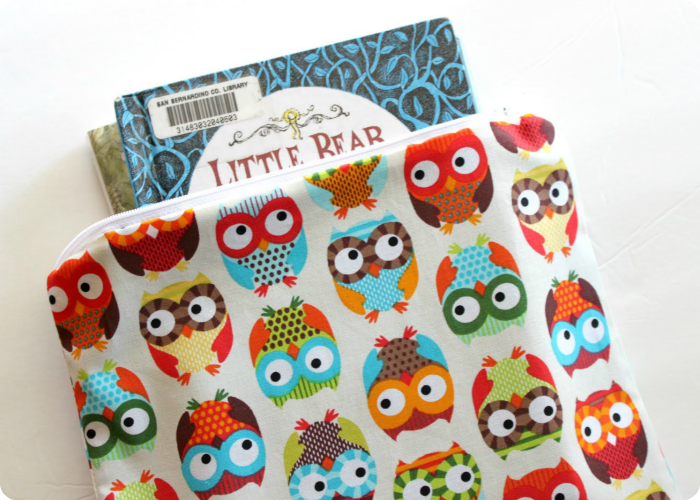
Do you have a child who loves to read? I recently got an email from a school teacher who wanted to find a “greener” and more durable way to send home books with her students. This fun School Book Zipper Pouch is my inspiration from her email.
These bags are pretty simple to make. If you’ve never sewn a zipper before, don’t be afraid! It is easier than you think, and this is a great project to practice on! I’ll show ya just how easy it is!
How to Make a Zipper Pouch
MATERIALS NEEDED –
- 2 outer fabric rectangles (the owl fabric) 12 inches by 13 inches. Check out owl fabric here
- 2 lining fabric pieces (the black fabric) 12 inches by 13 inches
- 1- 12-inch zipper
- sewing machine
- matching thread
- straight pins
- iron
- Heat’n Bond Lite
- a scrap of lining fabric, for the child’s name
DIRECTIONS –
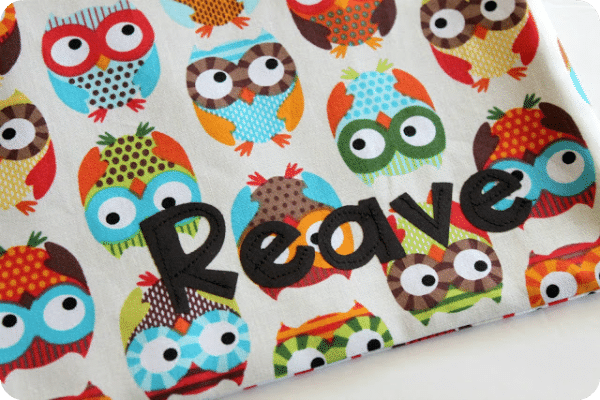
Add the child’s name to the bag by following the directions on the package of Heat’n Bond Lite. Trace and cut out the letters of your child’s name, peel off the paper off the back of the letters, and iron your child’s name onto one of the outer fabric rectangles. (Be careful when placing the name to not be too close to the edges so you do not sew over it when making the zipper pouch.) Then sew the name down onto the fabric.
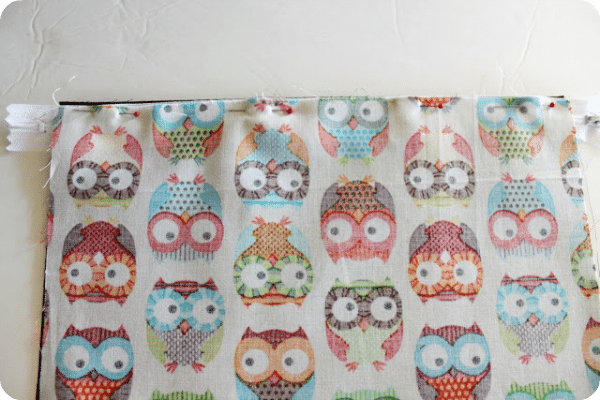
Grab one of your lining rectangles and one of your outer fabric rectangles and your zipper. You are going to make a sandwich as shown above. The right sides of your fabrics will face inward. Pin them together.
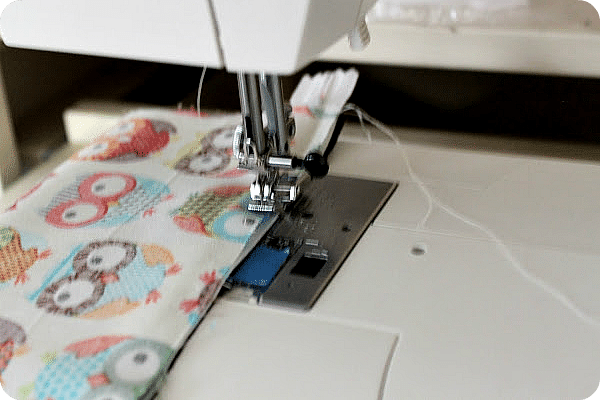
Using the zipper foot on your sewing machine, sew down along the zipper of the pinned side of fabrics.
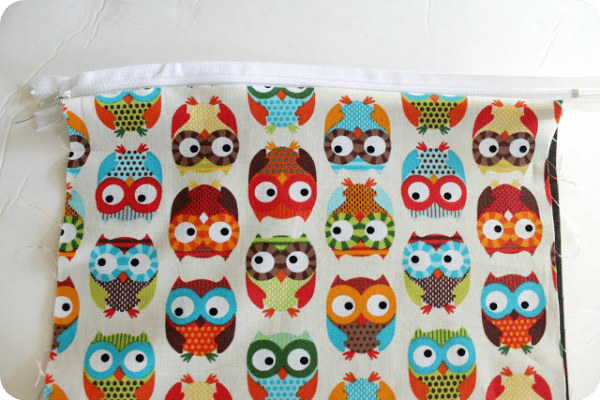
When you are done sewing, pull your fabrics together on one side (as shown) and iron them down flat.
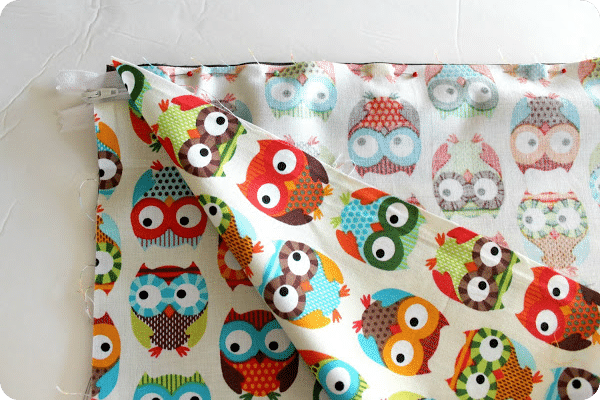
Make a sandwich like before, but this time on the other side of the zipper. Make sure your outer fabrics are on one side and the lining fabric is on the other. Pin it together and then sew it down just like we did for the other side.
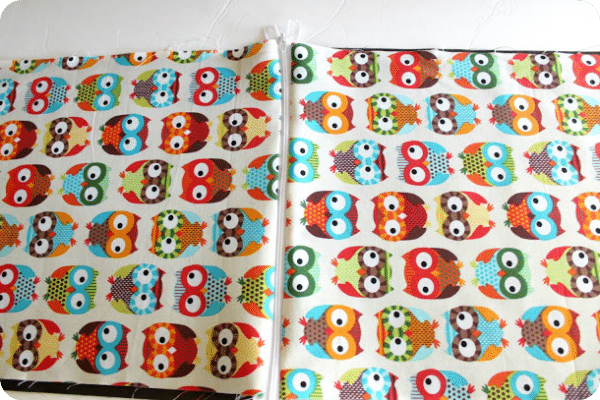
When you are done open it up and it should look something like this. Iron down both sides nicely and flat.
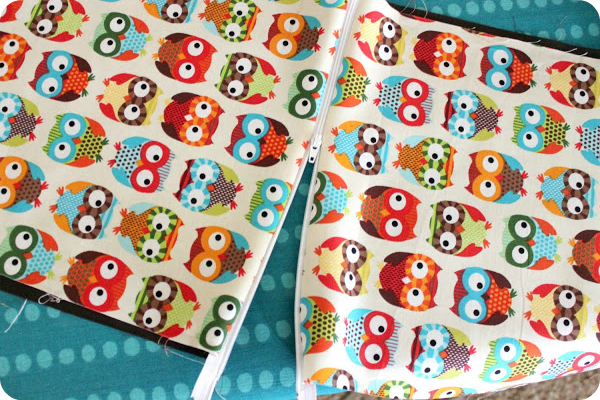
Unzip the zipper a little over halfway.
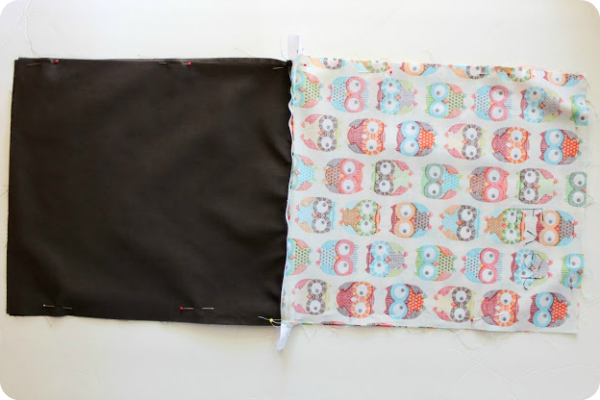
Bring both sides of the outer fabric to one side and both pieces of the lining fabric to one side. Again, make sure you unzip the zipper inside! You don’t have to do it all the way, but at least halfway unzipped. Otherwise, once we sew around this big rectangle you will not be able to turn it.
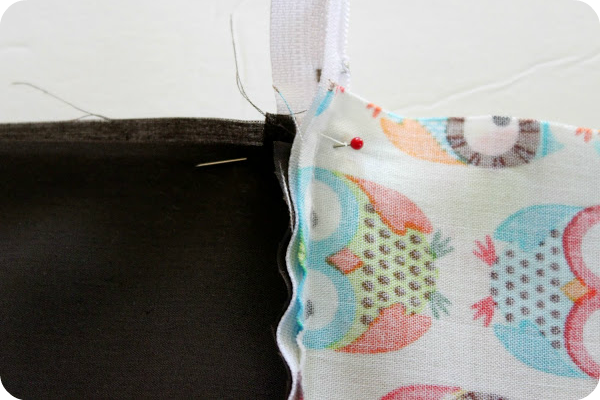
Pin it together, matching the sides as best you can. And make sure the zipper teeth are pinned down towards the lining fabric.
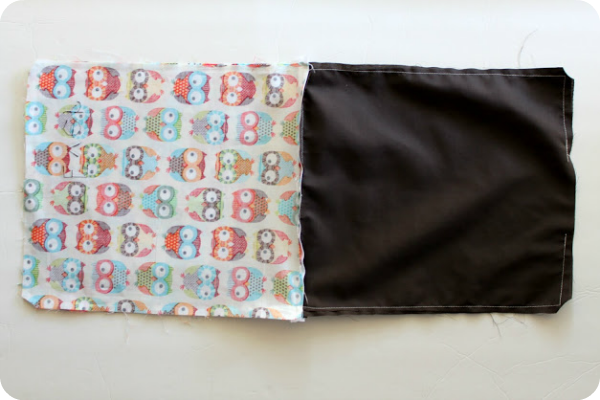
Sew all the way around leaving at least a 3-4 inch hole at the bottom of the lining fabric. Clip the corners and any extra zipper ends when you are done sewing.
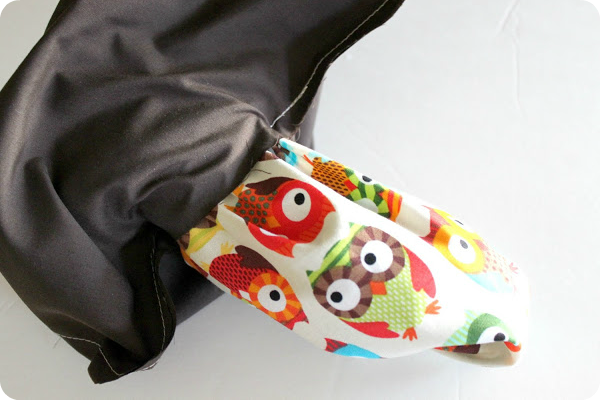
Turn it right side out. I like to use a pointy tool to get all the corners nice and turned out to a point.
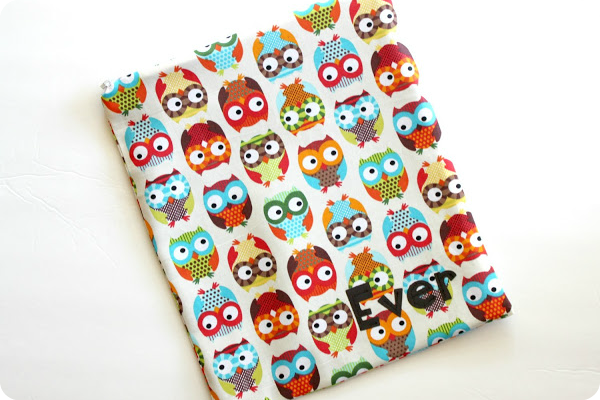
When you have it all turned out, zip it up, and iron it nice and flat.
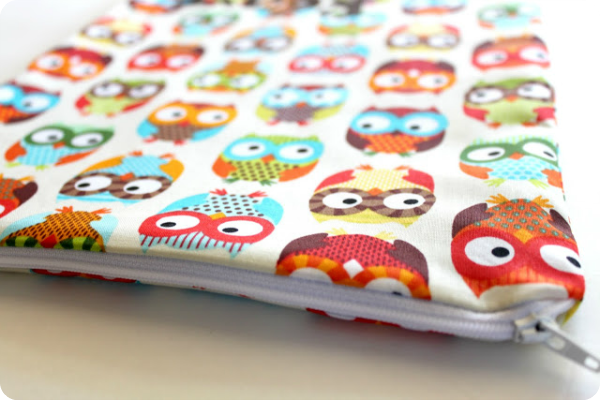
Now, you have a super cute bag for your child to carry their books around with them! It could also carry some small art supplies or a few toys. Happy reading!!
This post was created by Tasha from Creation Corner for the readers of Somewhat Simple. It was originally published in September of 2011.



You know what, this is the first zipper/pouch/lining tutorial that I’ve actually UNDERSTOOD!!! Wow… I think I can do it!
THanks for helping me understand!
I’m going to have to try this method. I *think* I understand it, which is definitely a first for me!
okay I’m going to take your word for it on the zipper and try this! thanks for the how-to 🙂