Painted Mason Jars
This post may contain affiliate links. Read our disclosure policy.
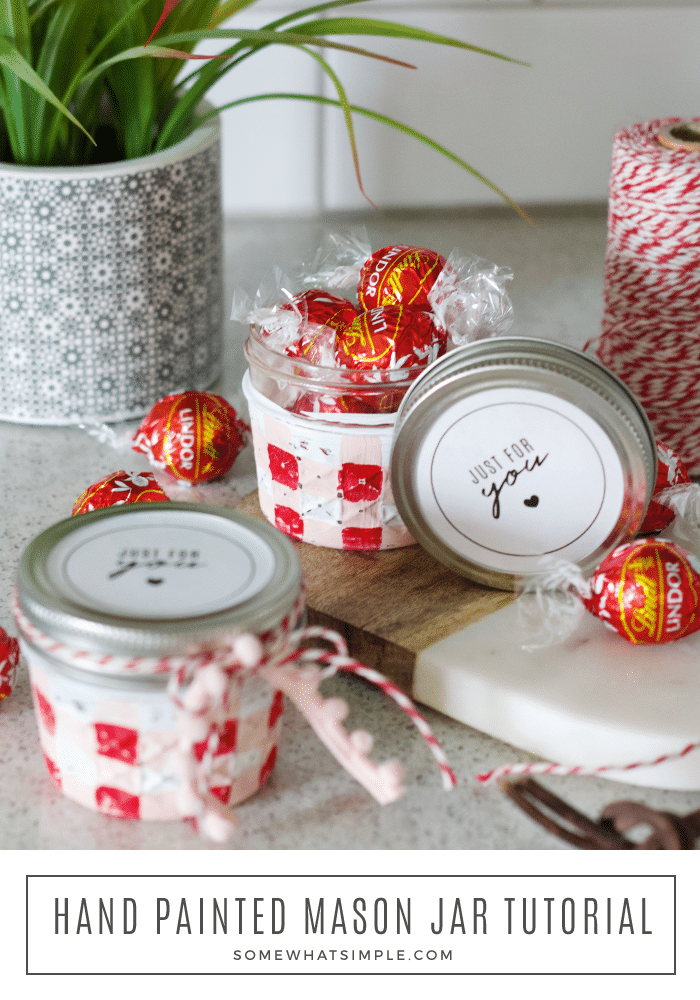
Buffalo check painted mason jars are an easy little project that makes a darling little gift!
We love a good mason jar project! Our Redneck Wine Glasses always get a good laugh, and our mason jar printables for Father’s Day and Teacher Appreciation Week are both simple gift ideas.
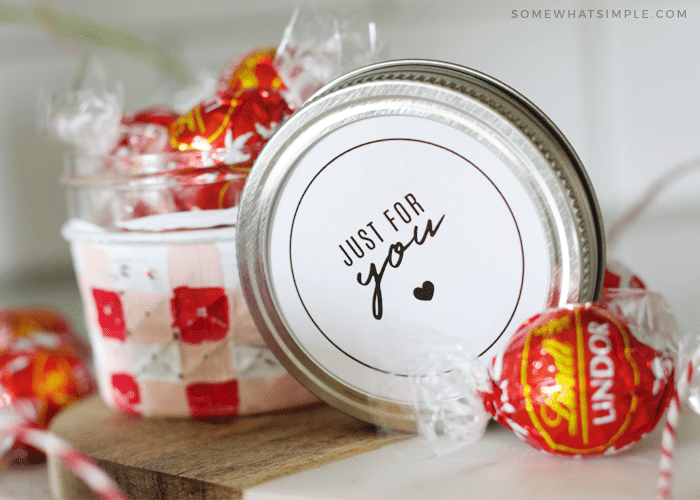
Buffalo Check Painted Mason Jars
Painted mason jars are a fun and inexpensive way to wrap up a little gift for a friend. Add our easy gift tag to the top and you’re good to go! (These also make great decorations for parties and holidays.)
This project was inspired by Heather from Whipperberry’s Christmas Mason Jar Gifts. We just love Heather’s Black and White Buffalo Check, and we thought some red and pink jars would be perfect for Valentine’s Day!
Painting the buffalo check pattern might look a little intimidating, but you’ll be happily surprised at how easy it is! So grab a few jars and some paint colors of your choice and let’s get started!
Mason Jar Gift
Fill your mason jars with any of the following ideas for the perfect little gifts –
- candy
- homemade cookies or cookie ingredients
- stovetop potpourri
- strawberry cake
- sugar scrub
- s’mores
- date night ideas
- family memories
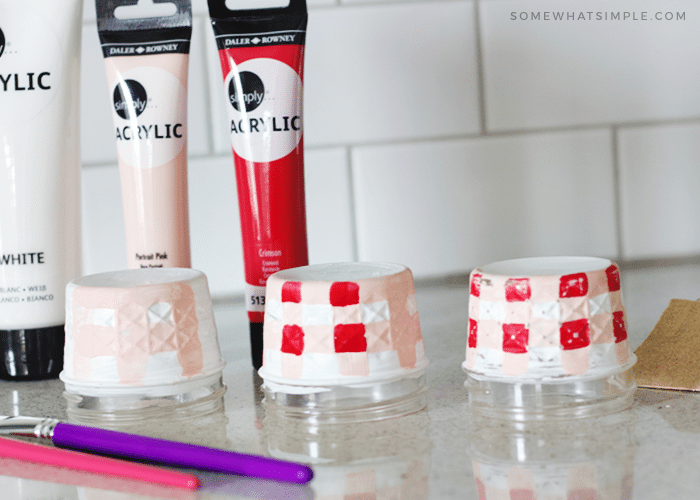
How to Paint Mason Jars
SUPPLIES –
- Mason jars, washed and dried (you can use any size you’d like)
- 3 different colors of paint
- paint brushes
- sand paper
- candies or something to fill your jar
- printable tag, cut out (download below)
DIRECTIONS –
- Paint a coat of white paint all over the outside of the jar. Brush strokes are fine – they will be covered and sanded at the end anyway. Let the white paint dry completely.
- Paint light pink horizontal and vertical lines over the white paint. Let this layer dry completely.
- Paint on the red squares at each pink intersection. Let this red paint dry completely.
- Once the paint is dry, lightly sand the jar to smooth out and slightly distress the paint. You can wipe down the jar with a dry cloth if there is any dust from sanding.
- Fill the jar with your desired contents.
- Add the tag to the lid, place it on the jar, then add the metal ring and twist it until tight to secure.
… and that’s it!
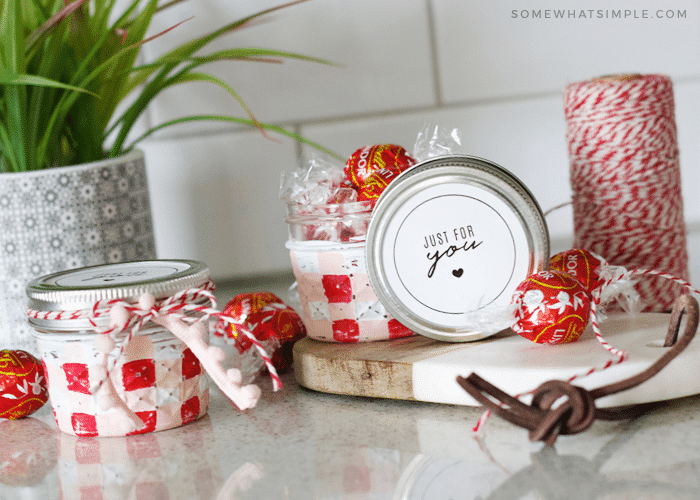
Aren’t these adorable?!?
Ready to make your own?



This is absolutely adorable!!
What a sweet and inexpensive gift idea, easily adaptable for many seasons, reasons, and occasions! Thank you! Please share where you purchased your acrylic paints in the tubes you used.
Hi Jan! You’re so right- they could be used for so many different things! Love that you’re on the same brain wave as we are! 🙂 We got the tubes from Walmart, just in their arts and crafts section. Have fun making and gifting!