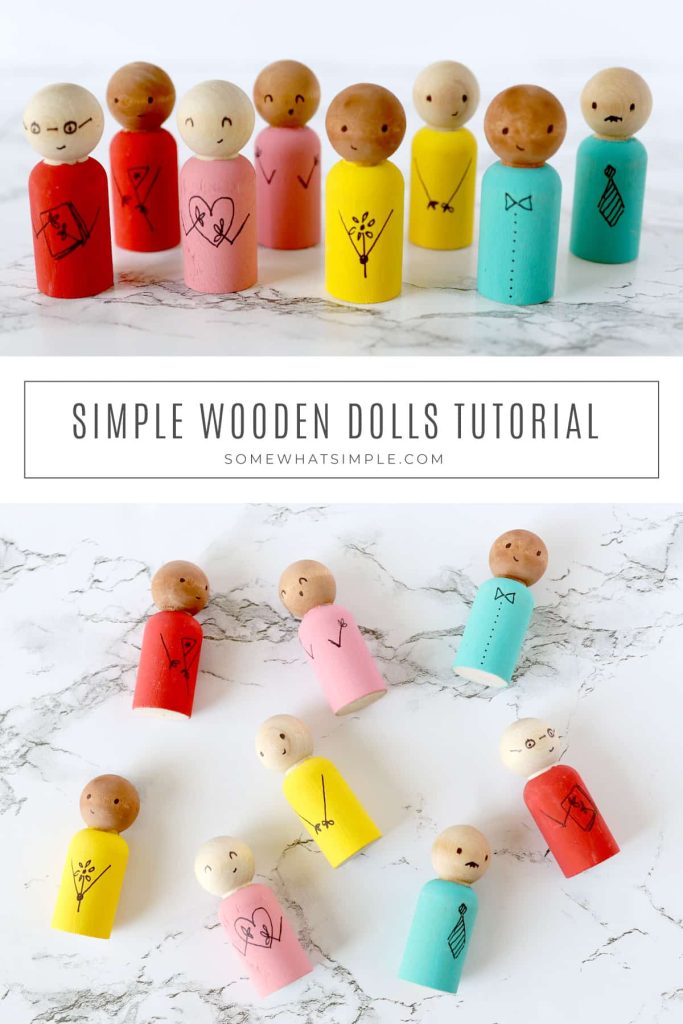
DIY Wooden Spool Dolls: A Step-by-Step Tutorial
This post may contain affiliate links. Read our disclosure policy.
Making wooden spool dolls is a simple craft that brings joy to both the creator and those who receive these darling handmade toys. These charming dolls are sure to become treasured keepsakes.
How to Make Wooden Spool Dolls
Wooden spool dolls are charming, timeless toys that spark creativity and imagination. Whether you’re making them for children or as a craft project, these adorable dolls are a fun and easy way to bring a touch of handmade nostalgia into your life.
Follow this step-by-step tutorial to create your own wooden spool dolls!
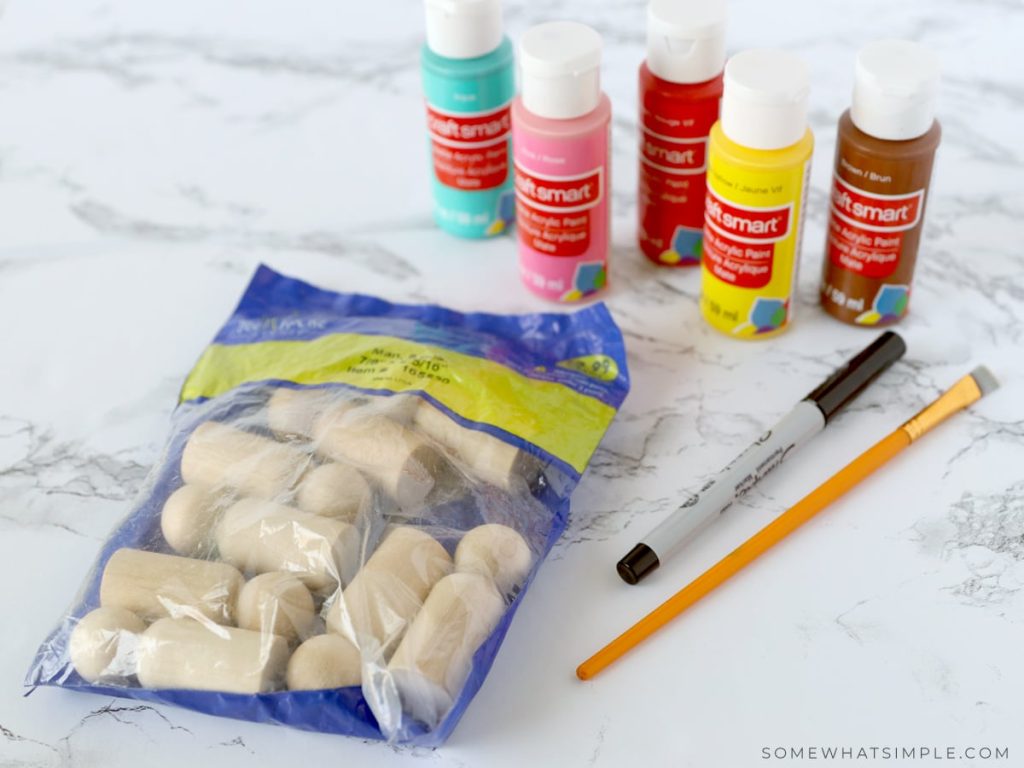
Materials Needed:
- Wooden spool people
- Acrylic paint and paintbrushes
- Fine-tip marker
- Optional Materials:
- Glue (hot glue gun or strong craft glue)
- Scissors
- Fabric scraps or felt
- Yarn (for hair)
- Embellishments (buttons, ribbons, etc.)
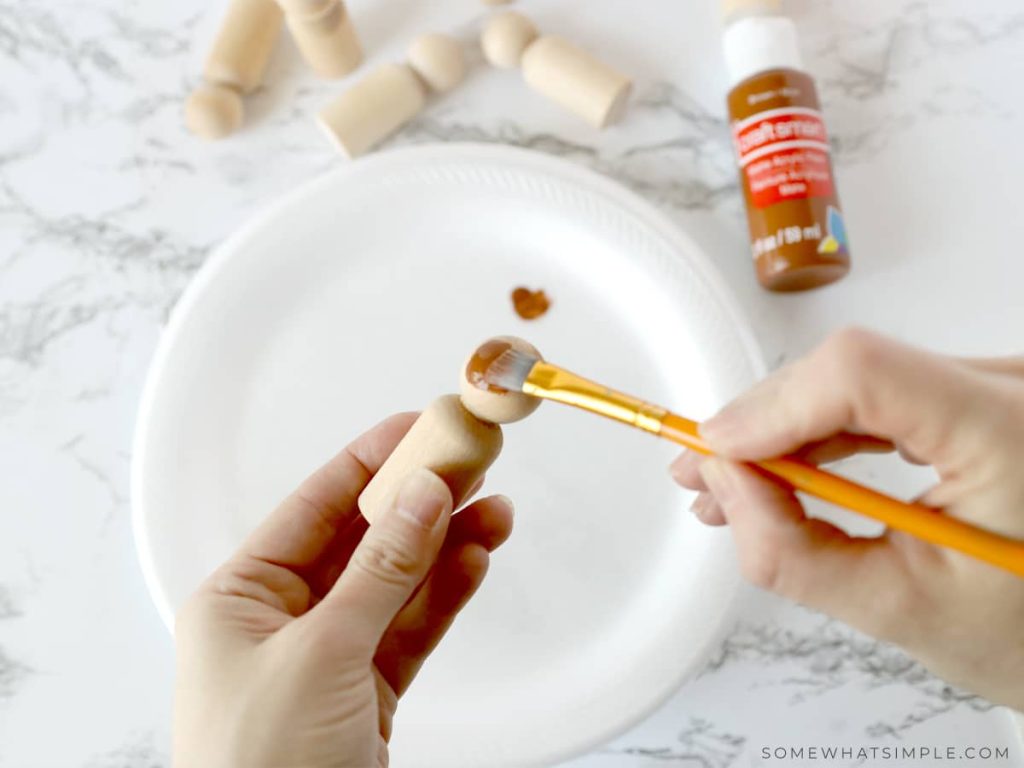
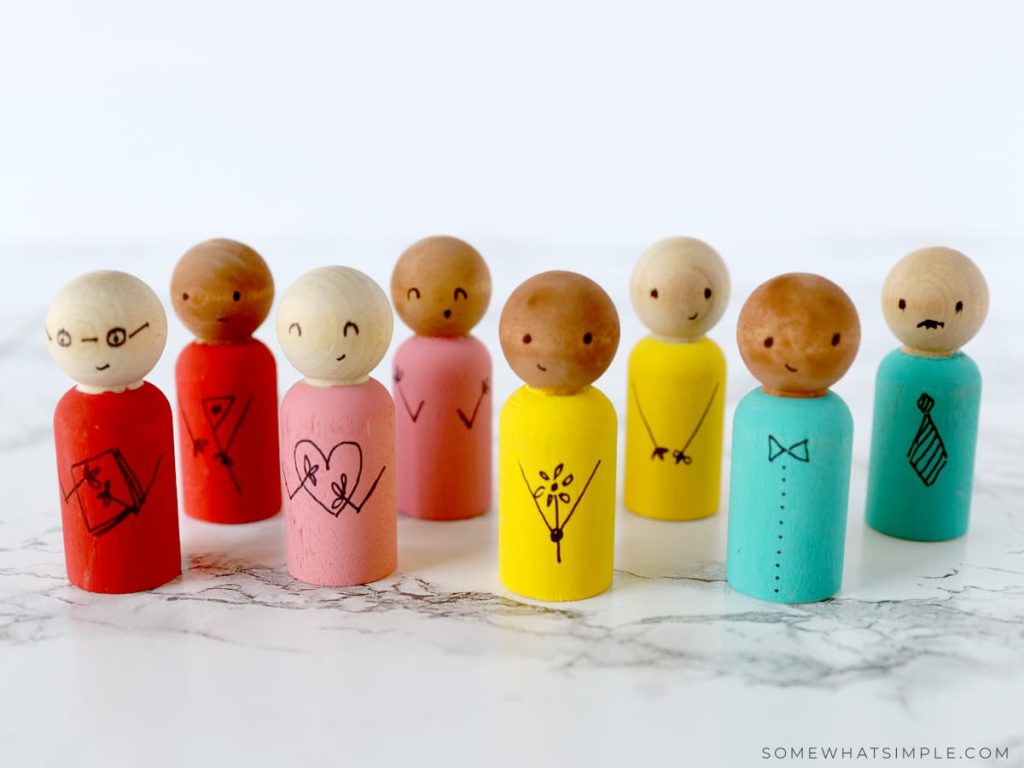
Step 1: Paint the Wooden Spools
Begin by painting the wooden spools with acrylic paint. Choose skin-tone colors for the head and a variety of colors for the clothing/ body of your dolls. You can use multiple colors for more detailed clothing or keep it simple with solid colors. Allow the paint to dry completely before proceeding to the next step.
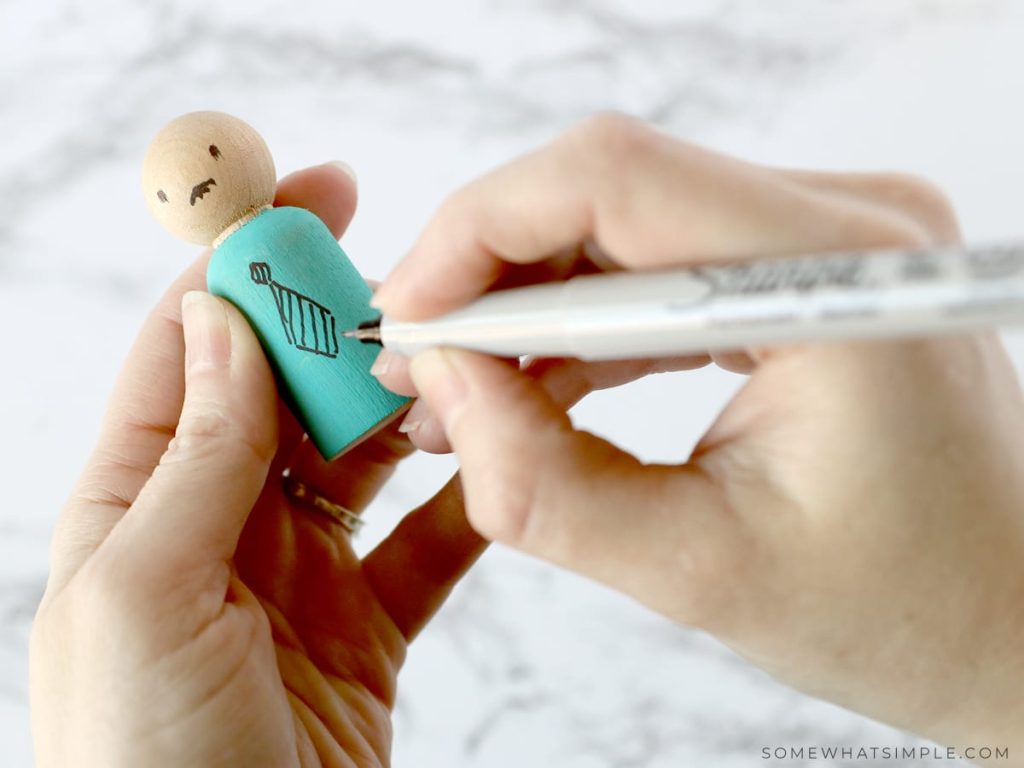
Step 2: Draw Details
Once dry, use fine-tip markers to draw facial features like eyes, nose, and mouth on each head. Get creative with expressions to give each doll a unique personality.
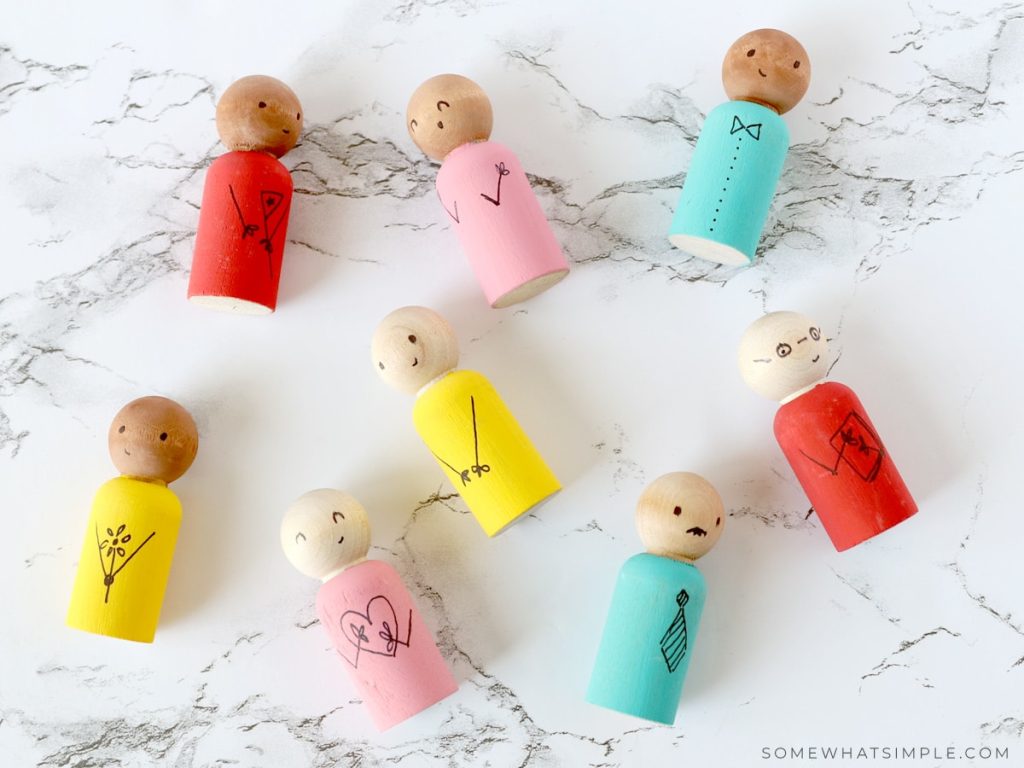
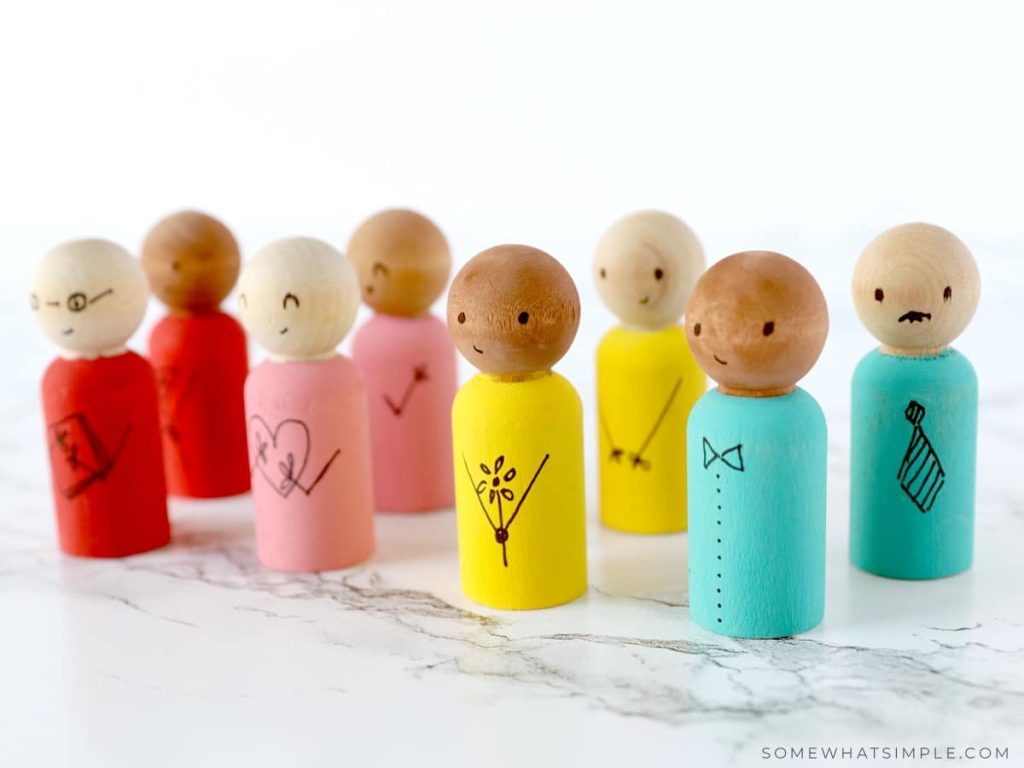
Step 3: Create a Family of Dolls
Repeat the steps above to create a whole family of wooden spool dolls. Get creative with different hairstyles, outfits, and expressions to give each doll its own unique character.
Enjoy the process and let your creativity shine with each unique doll you create!
Tips for Success:
- To create hair with yarn – Cut small pieces of yarn and glue them to the top of the wooden head. You can create different hairstyles by varying the length and style of the yarn. For example, make short hair by trimming the yarn close to the bead, or create long hair by leaving the yarn strands longer. Secure the yarn in place with glue, and trim any excess as needed.
- To create fabric clothing – Use fabric scraps or felt to create clothes for your dolls. Measure and cut pieces to fit around the spools, and glue the fabric in place. You can make dresses, shirts, skirts, or pants depending on the look you want for each doll. Add embellishments like buttons, ribbons, or tiny felt accessories to give each doll a unique outfit.
- Finishing touches – Draw on shoes or boots at the bottom of the spools with markers or paint. If you want, you can also add small accessories like hats or scarves made from fabric or felt.
- Paint – Acrylic paint dries quickly and is easy to work with, but make sure to let each layer dry completely before adding more details.
- Kid creations – If you’re making these dolls with children, supervise closely.


oh my goodness, I think my boys would love these…I'm adding them to my craft to do list!
way to go steph!!! If you're still my friend can you make one that looks like me… be sure to add roots!!!! I sooo need to color my hair!
I LOVE them! Love them. I don't even have girls and I want them. These are going on my wish list of things to make. Serously. I think if I makesome "boy" ones my boys will play with them too! YOu are the best
how cute
These are so cute!! Thanks for the idea.
Adorable!
So cute! Thanks for the inspiration!