DIY Halloween Shirt
This post may contain affiliate links. Read our disclosure policy.
If costumes and dressing up for Halloween aren’t totally your thing, it’s time to DIY a simple Halloween Shirt! This shirt tutorial is easy, kid-friendly, and the results can be as cute or spooky as you want!
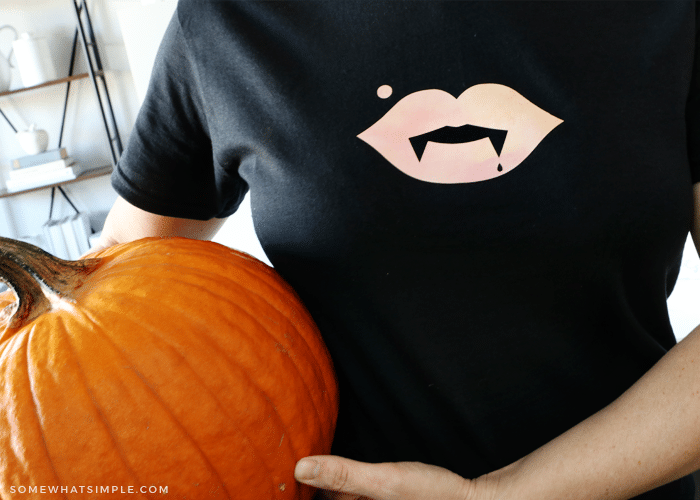
I’ve never been a big costume person, but I do love being festive for the holidays! This Halloween shirt is perfect for people like me who want an easy project that is festive and affordable! This project costs a couple of dollars to make, and it can be done in 30 minutes or less! Here’s how to make it –
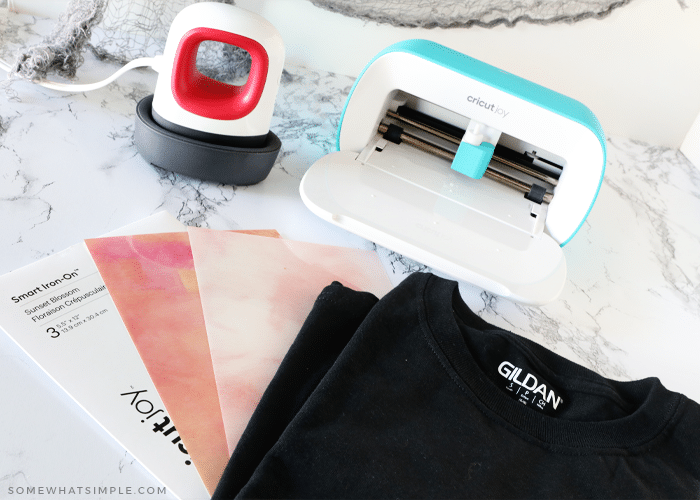
How to Make a Halloween T-Shirt
SUPPLIES –
- Cricut Cutting Machine – I used the Cricut Joy
- EasyPress + Easy Press Mat or an iron + ironing board
- Cricut Design Space
- iron on vinyl – I used the pink/orange sheet from this pack HERE.
- standard cutting mat
- Let It Snow cut file (download below)
- solid color t-shirt
TO MAKE YOUR T-SHIRT DESIGN –
Create or upload you design in Design Space. You can use the Vampire Lips or Pumpkin design I created by downloading the file below.
When you have your design in Cricut Design Space, do the following:
- Click “Make It”
- Make sure that the “mirror” option is selected (get in the habit of doing this for ALL your iron on projects!)
- Follow the prompts –
- place your vinyl on the mat with the shiny side facing down.
- Load your mat into the machine
- Press start to cut it out.
- Weed the vinyl from your mat and set aside
HOW TO IRON YOUR DESIGN ONTO THE T SHIRT –
Once weeding of your vinyl is done, do the following –
- Preheat your T-Shirt by pressing the EasyPress onto the TShirt for 5 seconds to remove wrinkles and moisture.
- Position your vinyl design on your shirt with the shiny side (clear liner) facing up. If you are using a small or intricate design, transfer tape will come in handy. My designs were easy to pick up and place down.
- Place the EasyPress on top of the design and set the timer. Apply gentle pressure to the EasyPress until it beeps.
- Flip and repeat on the back for an additional 15-20 seconds.
- Carefully peel off the clear sheet from your design. If the liner does not lift off easily, reapply heat for a few more seconds. NOTE: We found it easiest to wait for the TShirt to cool before removing the liner. (Refer to Cricut for information about removing the liner when it’s warm vs. cold.)
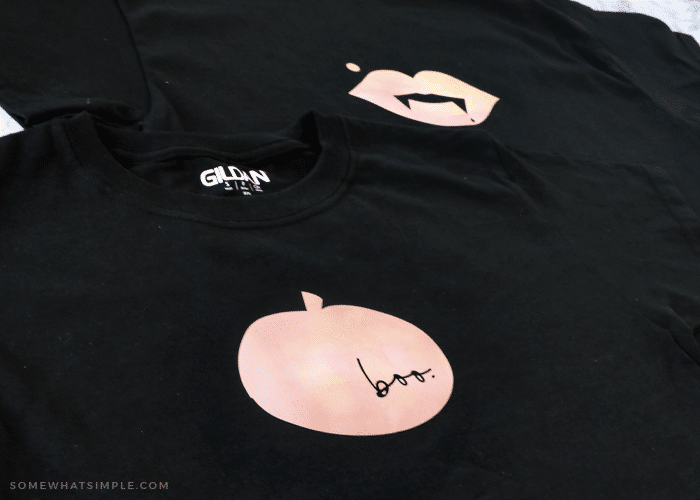
Download oUr Banner Design
If you want to use our TShirt designs, click the links below to save the files to your computer. You’ll just need to upload the image into Cricut Design Space and follow the prompts to turn it into an SVG file (it takes about 15 seconds!). These are black images and may appear to be a solid black screen when you first view it, but the designs are there, I promise!
See, quick and easy! The possibilities in making your own are endless! Enjoy!



Love this idea! I am marking it now. It will be too fun to do and maybe I will hog all the fun to myself and NOT let the kids help me. 🙂