DIY Bow Holder
This post may contain affiliate links. Read our disclosure policy.
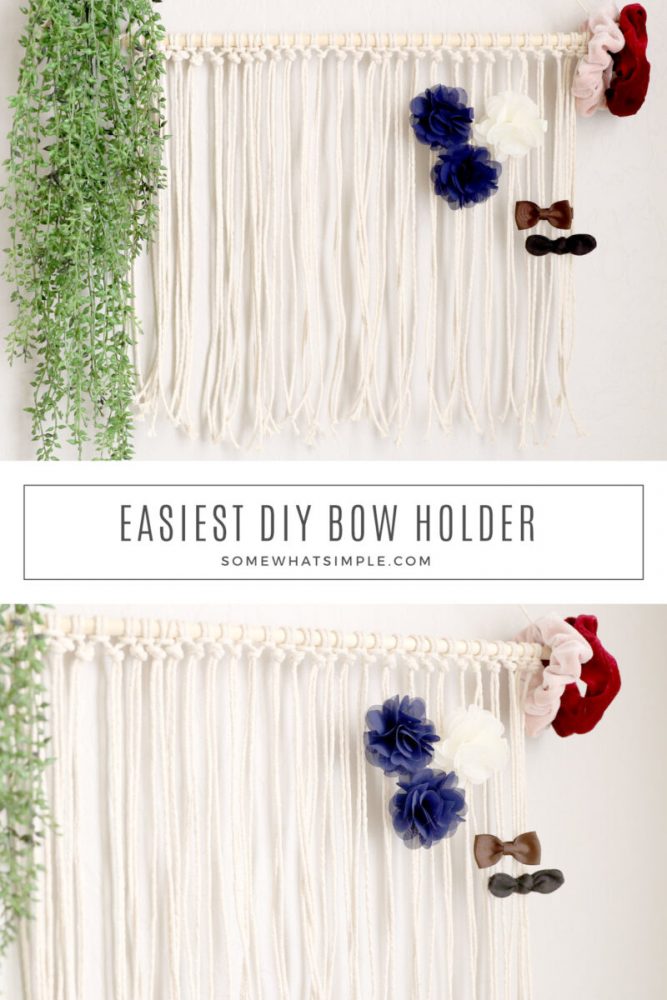
This DIY Bow Holder is an easy project that will help keep all of your hair bows organized and looking cute!
Here are a few more hair bow tutorials we think you’ll love – 5 Minute Fabric Flower Headband, Favorite Ways to Make Hair Bows, and DIY Baby Headbands.
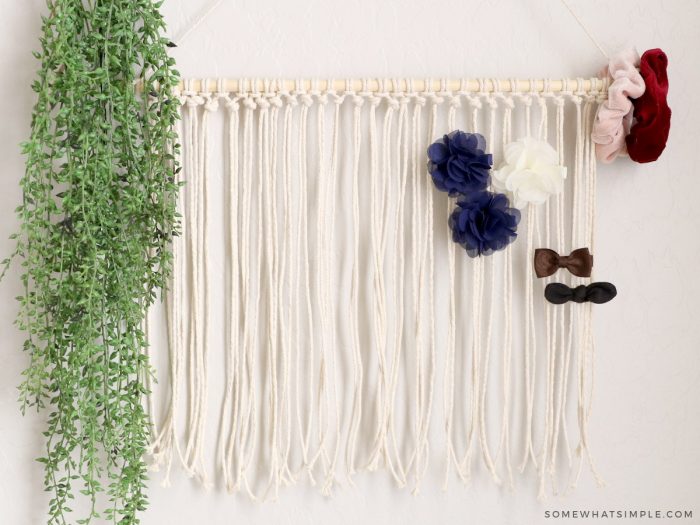
I have two girls who never leave the house without wearing a bow! We have hair bows coming out of our ears, and this cute bow holder is how we keep them organized! Making one for your home will take you ten minutes or less! Here is how –
How to Make a Bow Holder
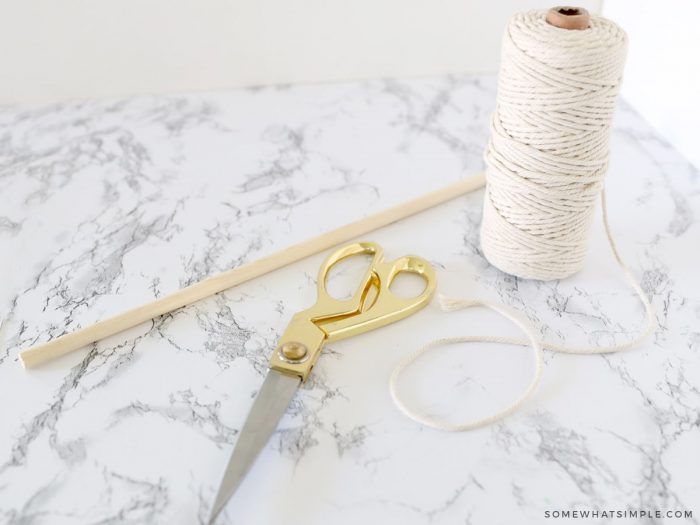
YOU WILL NEED –
- string, twine, or rope – I used this Natural Cotton Twisted Rope on Amazon.
- scissors
- 1 wood dowel, cut to your desired length – Mine was about 18” long.
DIRECTIONS –
Figure out what length you want the tassels to be, then double it (plus an inch or two) and cut each strand. I cut 30 strands that were 32” long.
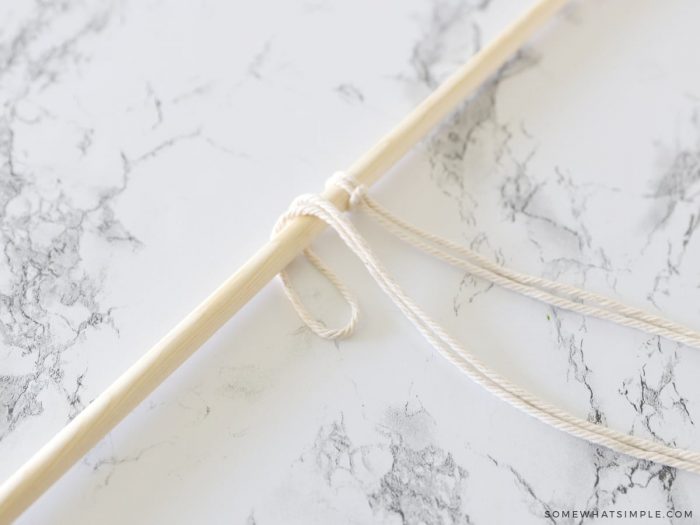
To tie each strand onto your dowel, fold each piece of rope in half and place the center of your rope on top of the dowel. Pull your rope over and around the dowel until the “loop” is laying flat under the rest of the string.
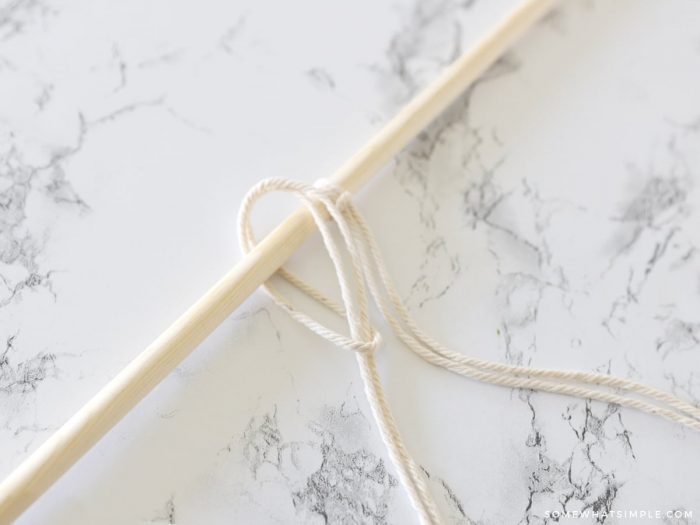
Pull the loose ends of your rope through the loop, then pull tight to secure.
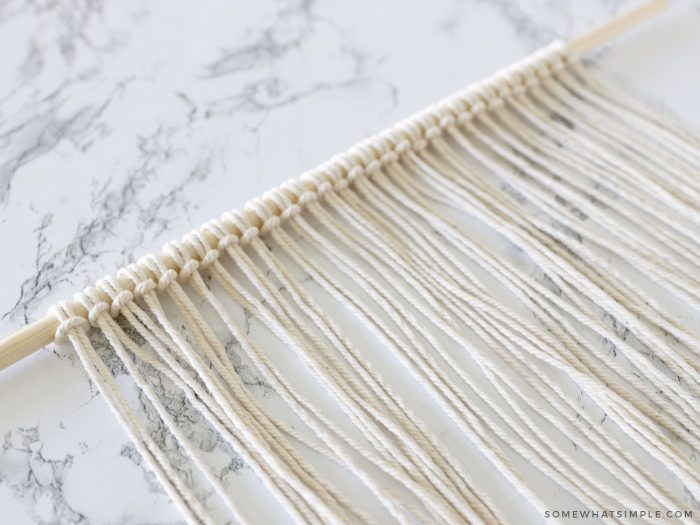
Continue tying each strand to fill your dowel. I left enough space on each side of my dowel so I could hang scrunchies on them.
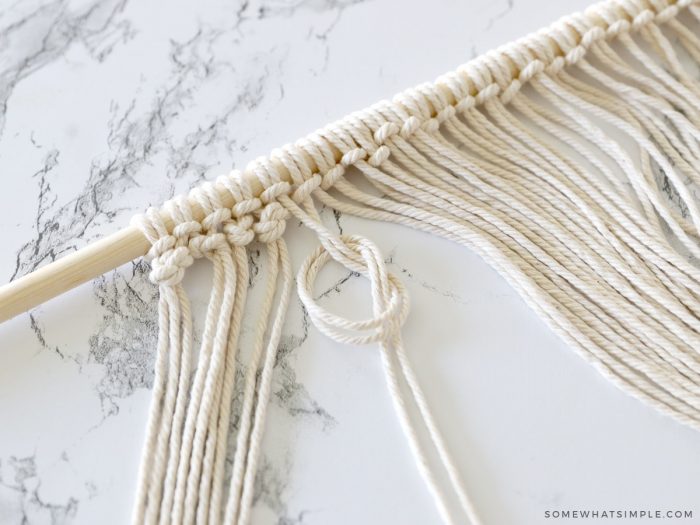
You can leave the knots as-is, or you can grab 2 strands from neighboring sets and tie them together in a knot.
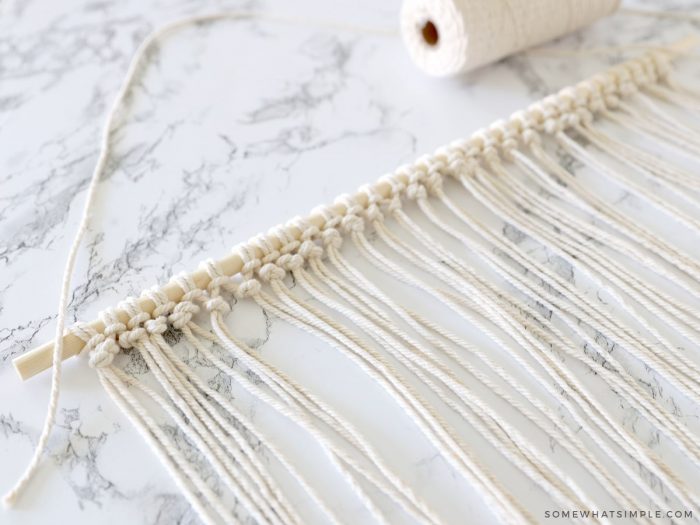
Decide how low you want your bow holder to hang, then cut another piece of string and tie one end onto each side of your dowel.
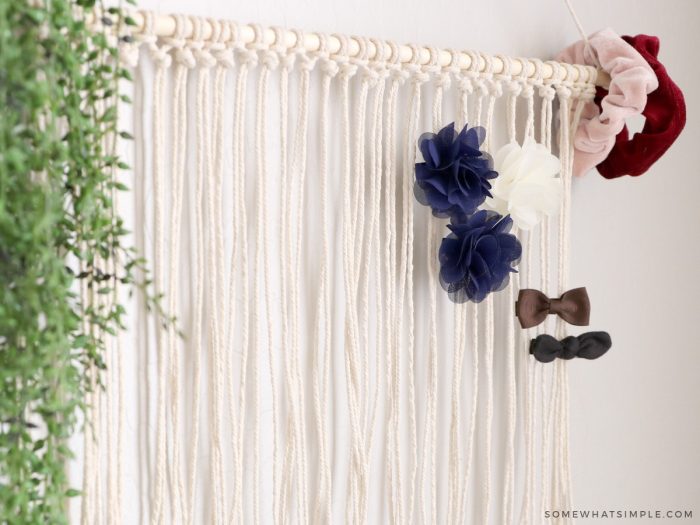
Hang on your wall and fill with bows and scrunchies!
What do you think?


I love all your bow holder ideas! I want to do them all! Thank goodness I'll have 3 girls to fill them all up! BTW…Do you have a page as to HOW to make bows? I need help with that one!
what an awesome idea!
Just came across your site….and totally LOVE this idea. SO cute!
Just came here from See it! Love it! Win it! I love this idea!