How to Make a Tote Backpack
This post may contain affiliate links. Read our disclosure policy.
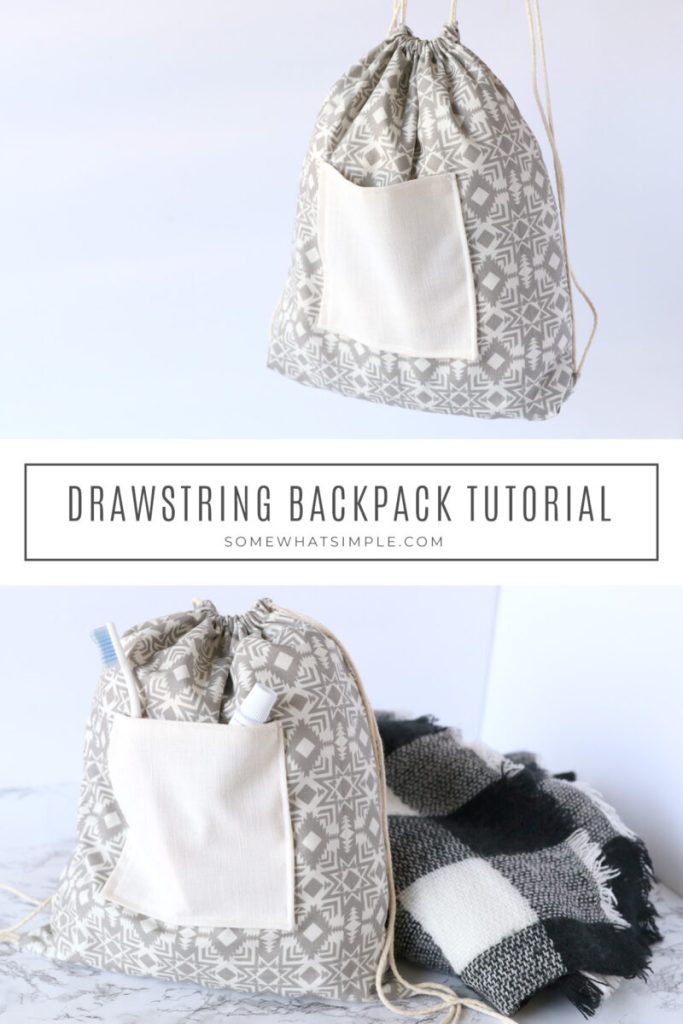
Learn how to make a tote backpack with this easy step-by-step tutorial! This bag is perfect for your kid’s adventures at the park, the library, and sleepovers at grandma’s house!
Here are a few more craft ideas we think you’ll love – No-Sew Drawstring Bag, My Little Pony Headbands, DIY Tic Tac Toe Board, and Make Your Own Bug Catcher.

DIY Tote Backpack
This quick and easy tutorial will show you how to make a backpack without any special sewing skills. If you can sew a straight stitch on your sewing machine, you can TOTALLY make this tote!
This simple bag can be made in whatever size you need it to be! It’s lightweight, roomy, and perfect for carrying water bottles, toys, sweatshirts, and more! It would be perfect to bring on a class field trip or on a fun family adventure.
Here’s how to make them –
How to Make a Tote Backpack
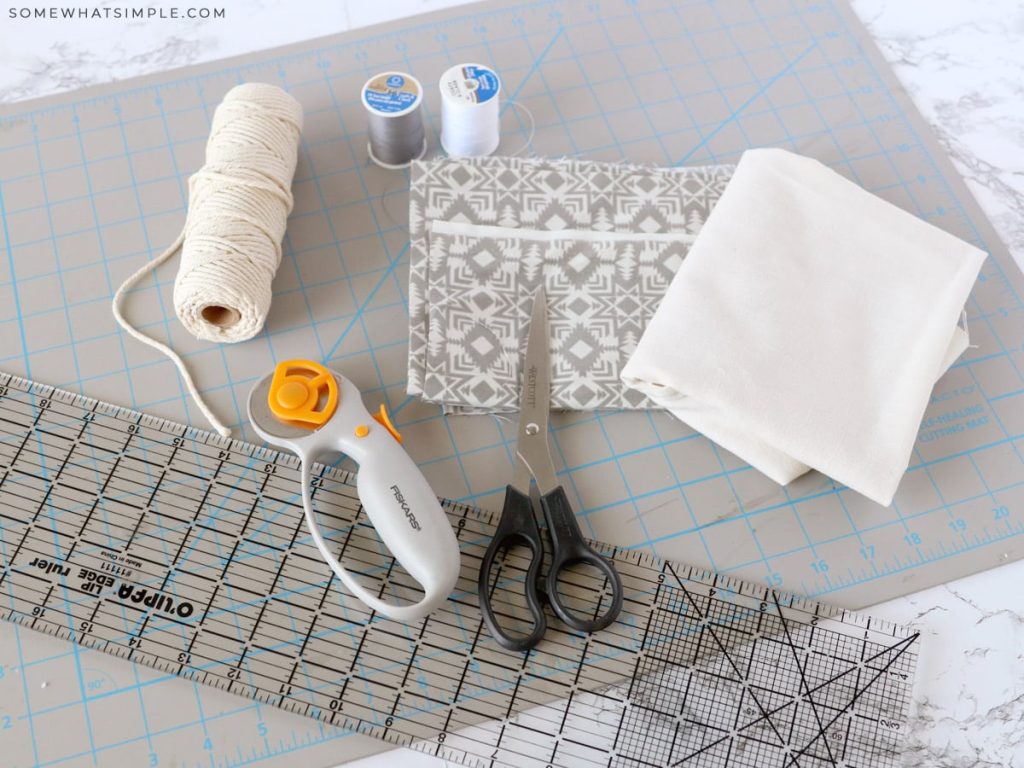
SUPPLIES –
- sewing machine
- iron
- 1 yd of fabric (2 kinds if you want your pocket different)
- matching thread
- string or ribbon
- ruler or measuring tape
- scissors
- pencil or chalk
- safety pin or tape
- rotary cutter w/ mat (optional, but definitely easier + quicker)
DIRECTIONS –
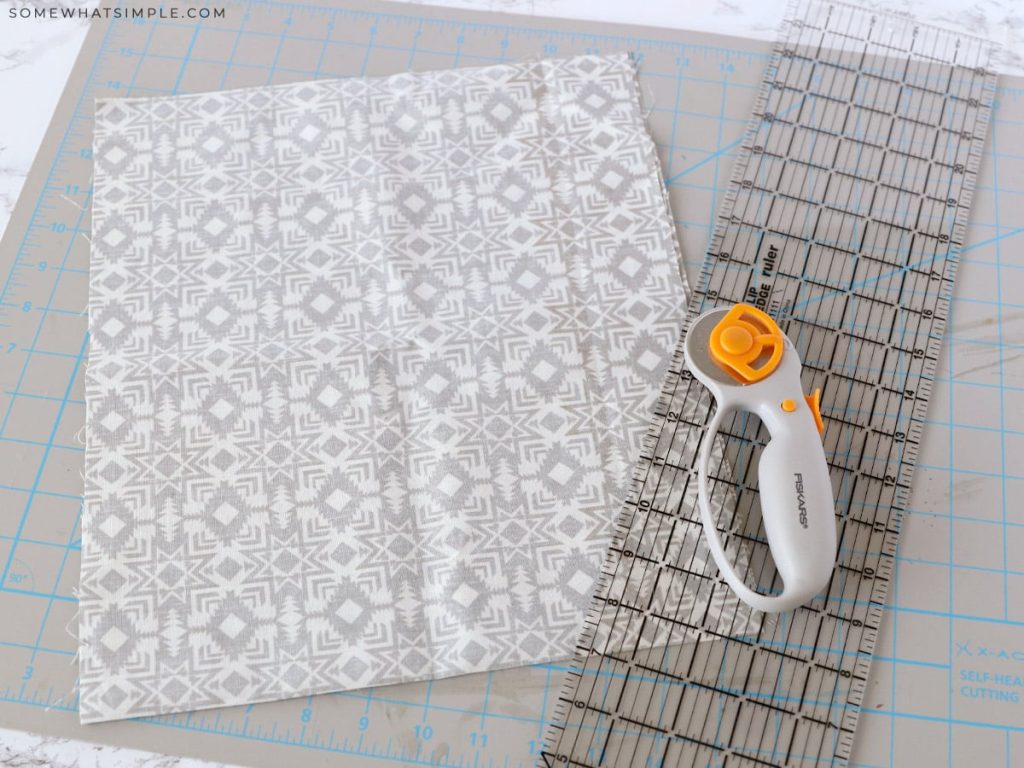
STEP 1 – Fold the main fabric in half. Cut with scissors or a rotary cutter so your fabric is 12″ wide.
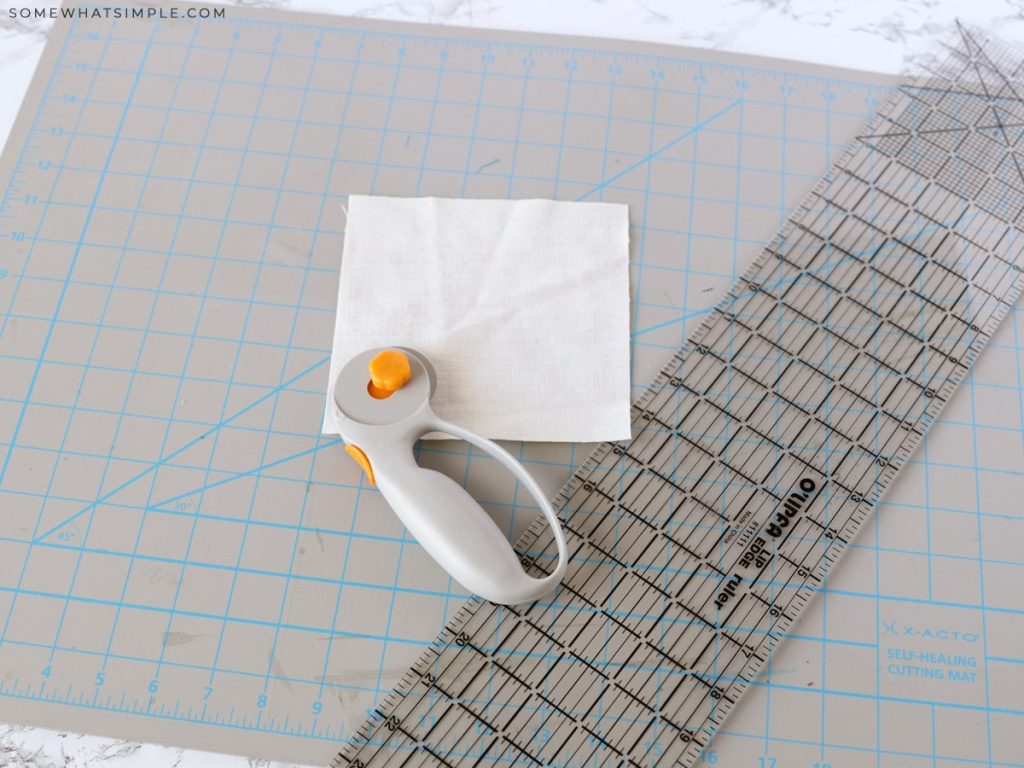
STEP 2 – Cut a 6×6″ square for your pocket.
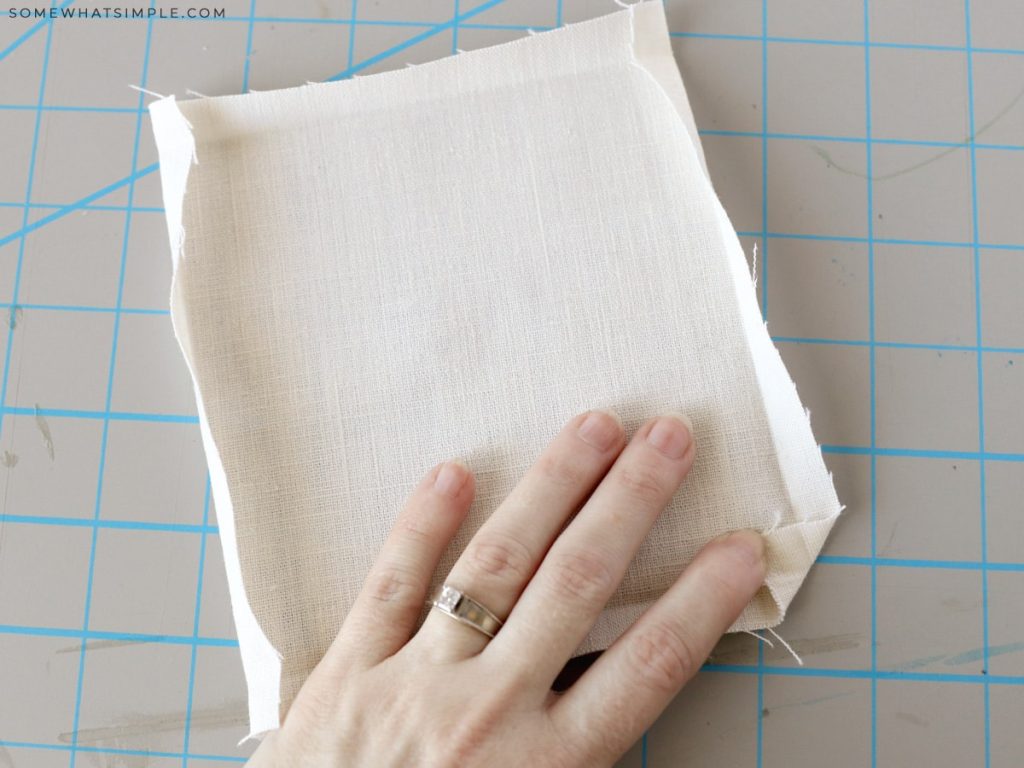
STEP 3 – Fold the edges over 1/2″ and iron flat.
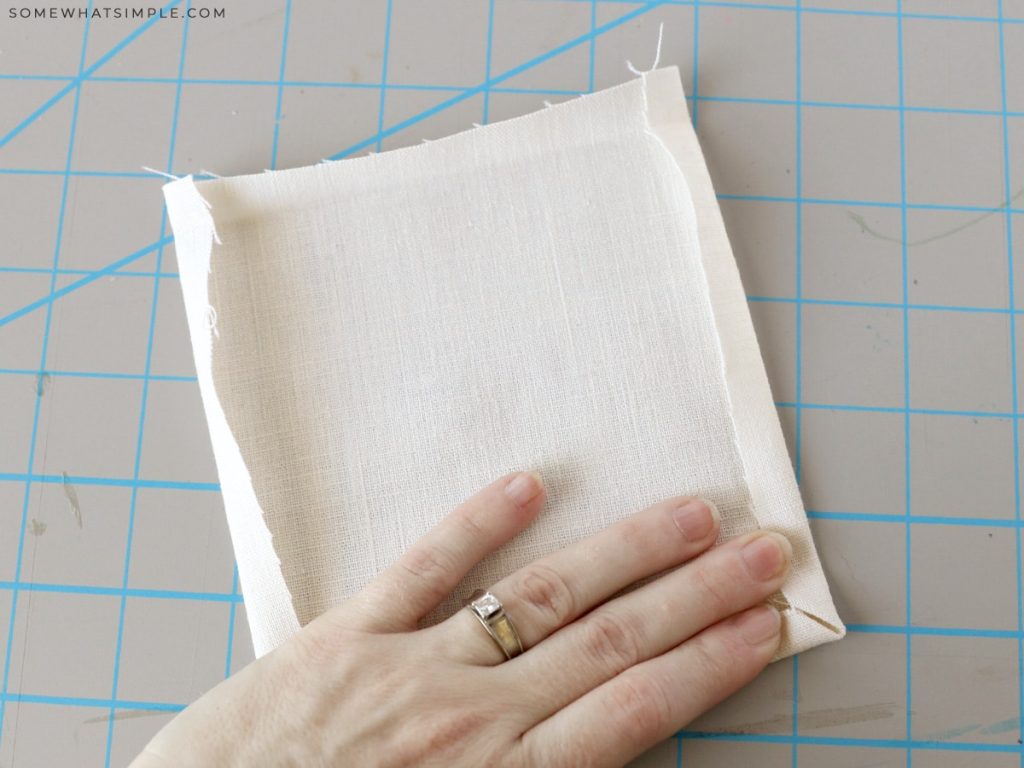
STEP 4 – Fold your fabric edges over like above, and sew a straight line along one edge. That will be the top of the pocket.
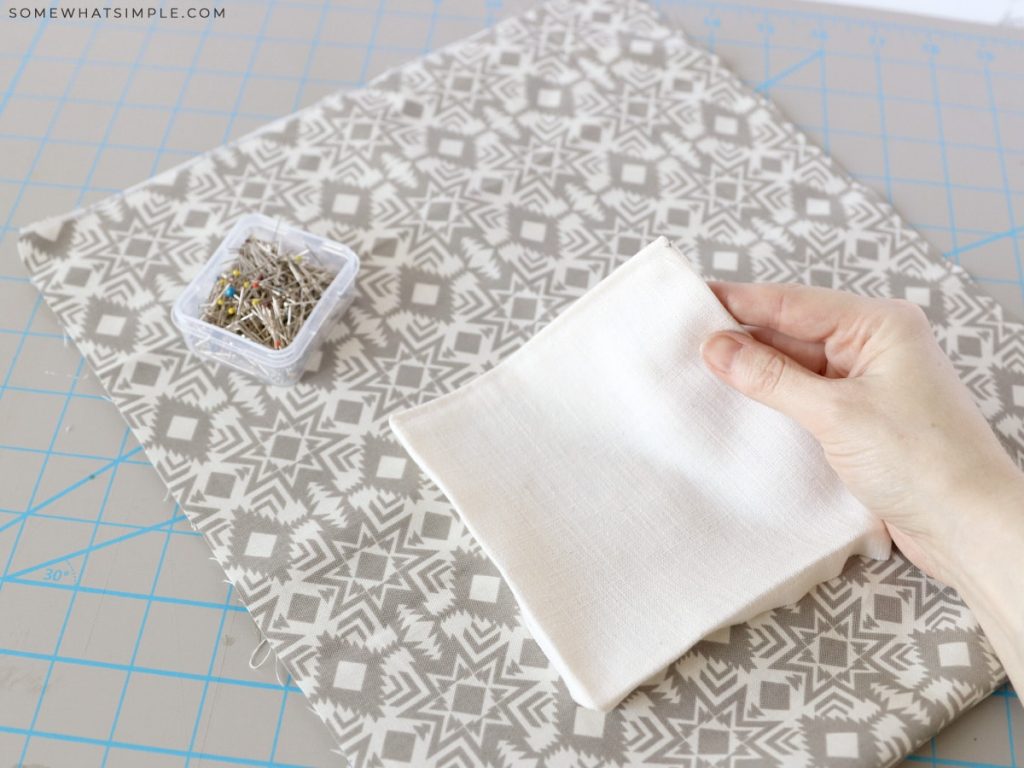
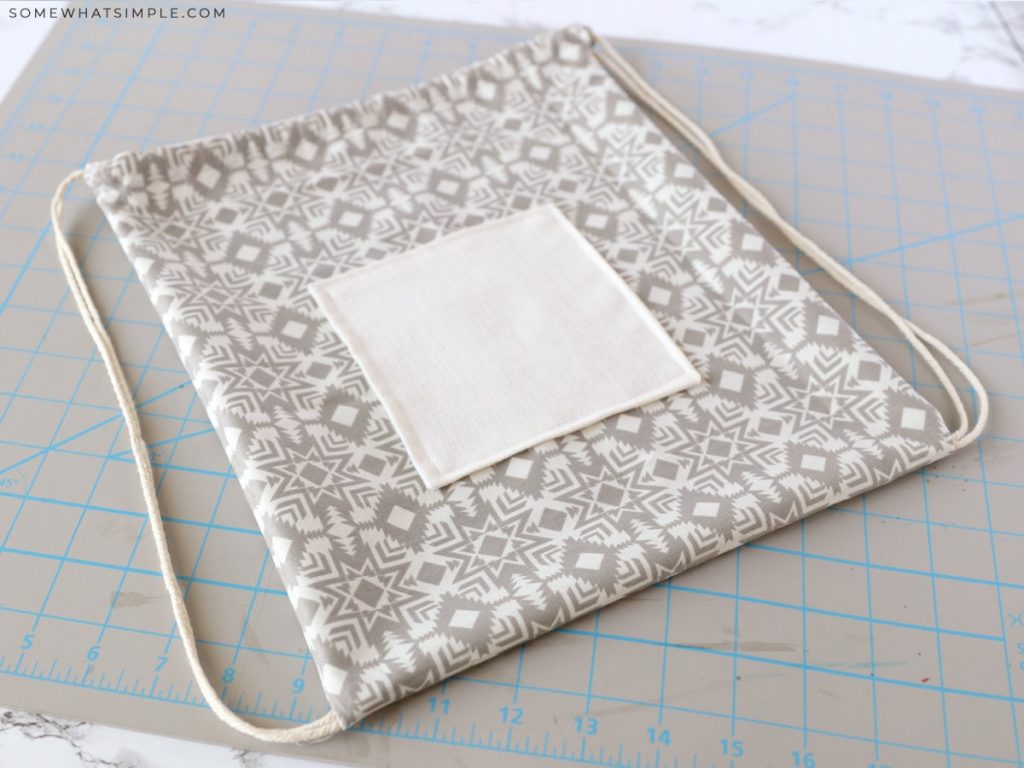
STEP 5 – Position your pocket onto the main fabric and pin it into place. Sew a straight line along the sides and bottom to attach.
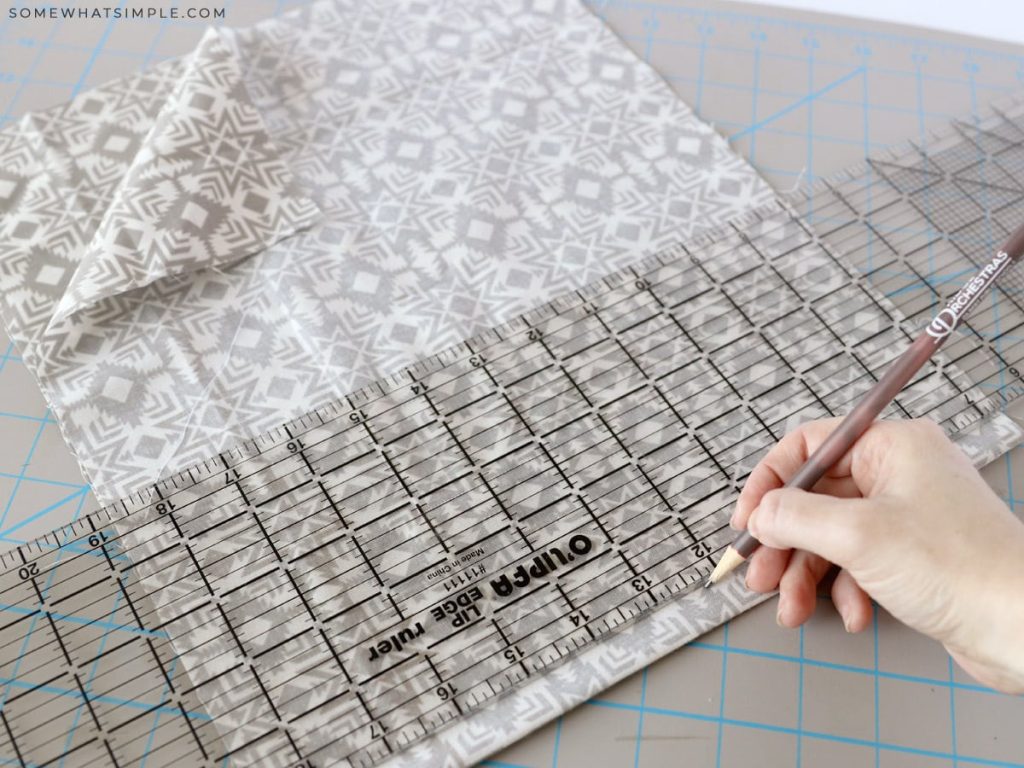
STEP 6 – Fold your fabric so the insides are facing out and draw a straight line 1″ from the bottom and 2″ from the top.
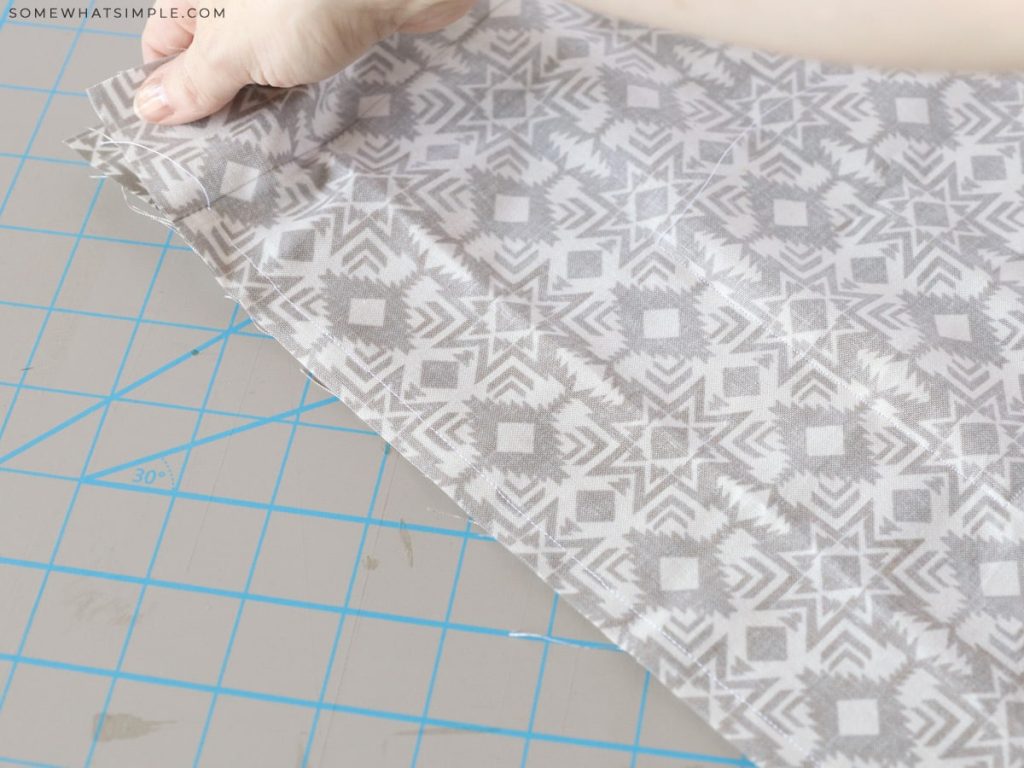
STEP 7 – Sew a straight line along the sides ONLY in between the 2 lines, NOT to the edge of the fabric.

STEP 8 – Fold the top down into thirds and iron flat. Sew a straight line along the folded edge to make a mini pocket for your string or ribbon.
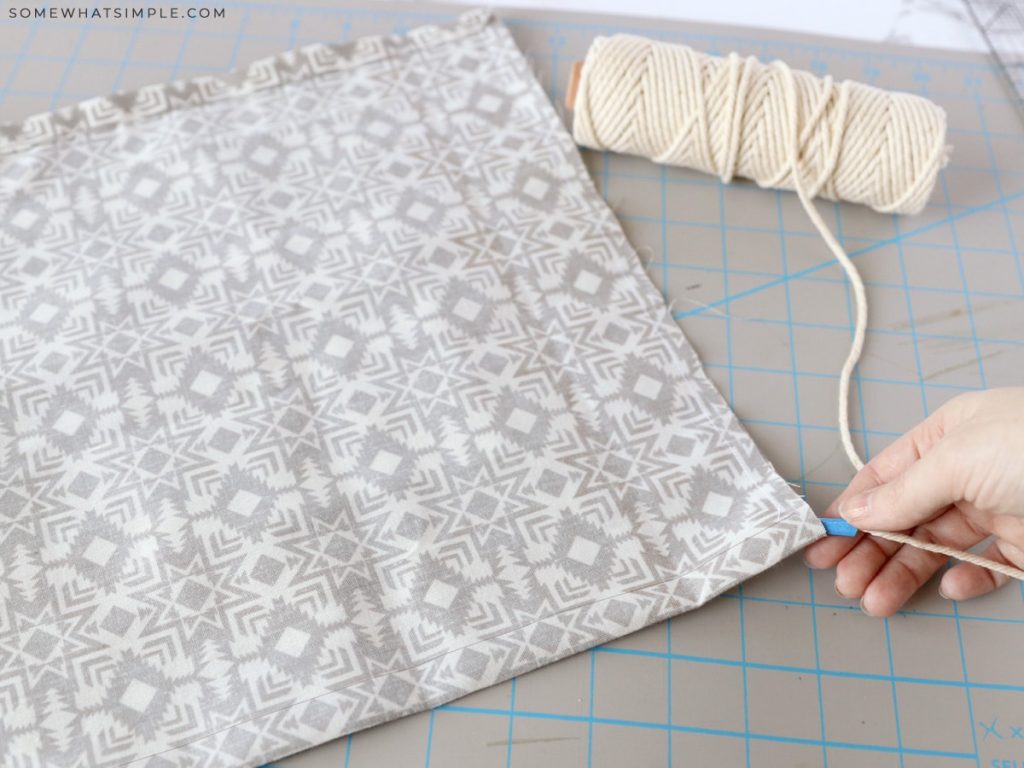
STEP 9 – Cut 2 pieces of string or ribbon 54″ long. Using tape or a safety pin, attach it to one end of your string or ribbon. This part can get confusing, so hold on. 😉 Thread through the bottom right, and bring it up through the top.
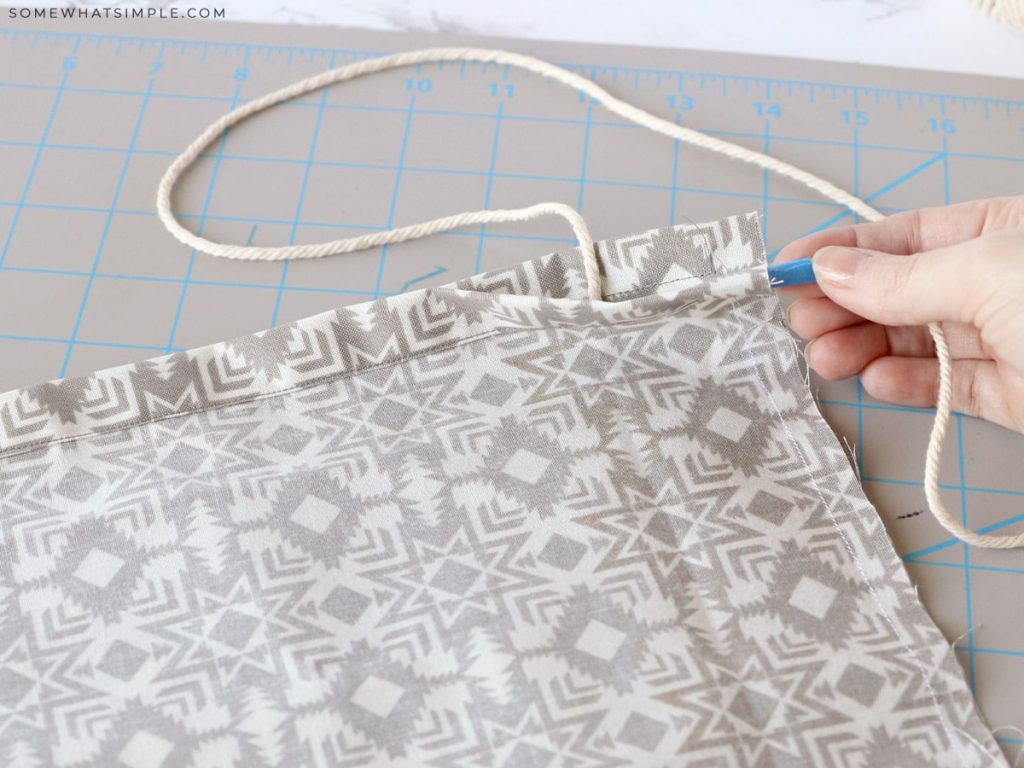
STEP 10 – Insert into the top right, and thread till it comes out the top left.
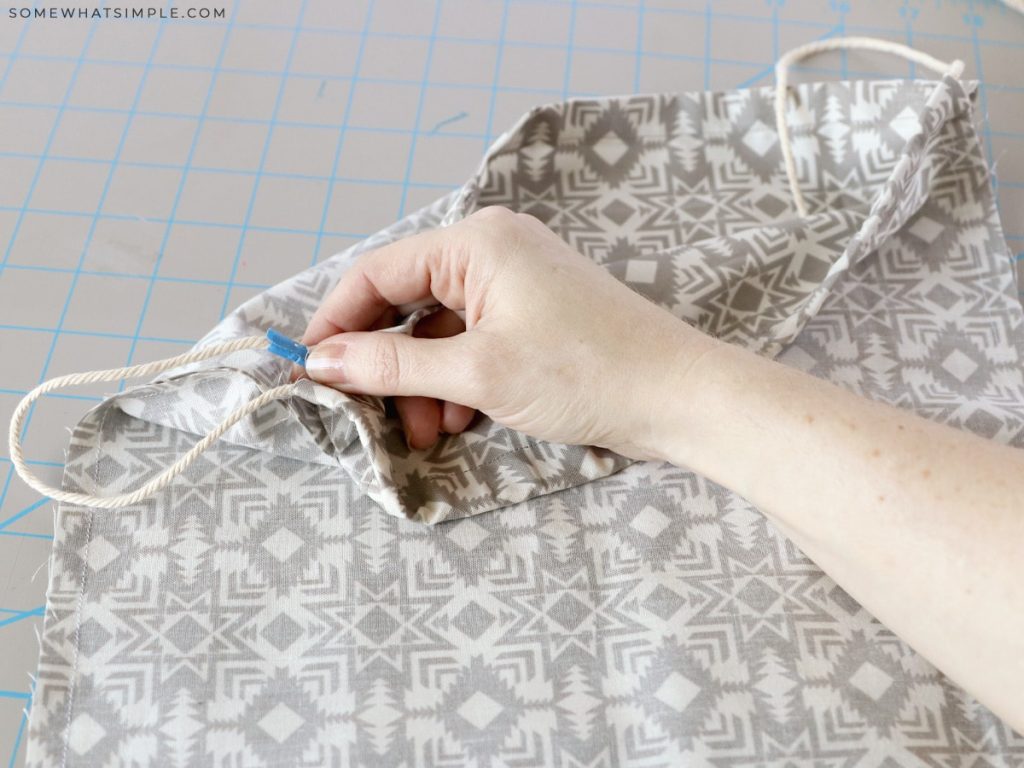
STEP 11 – Insert into the back left, and thread through the bottom right.
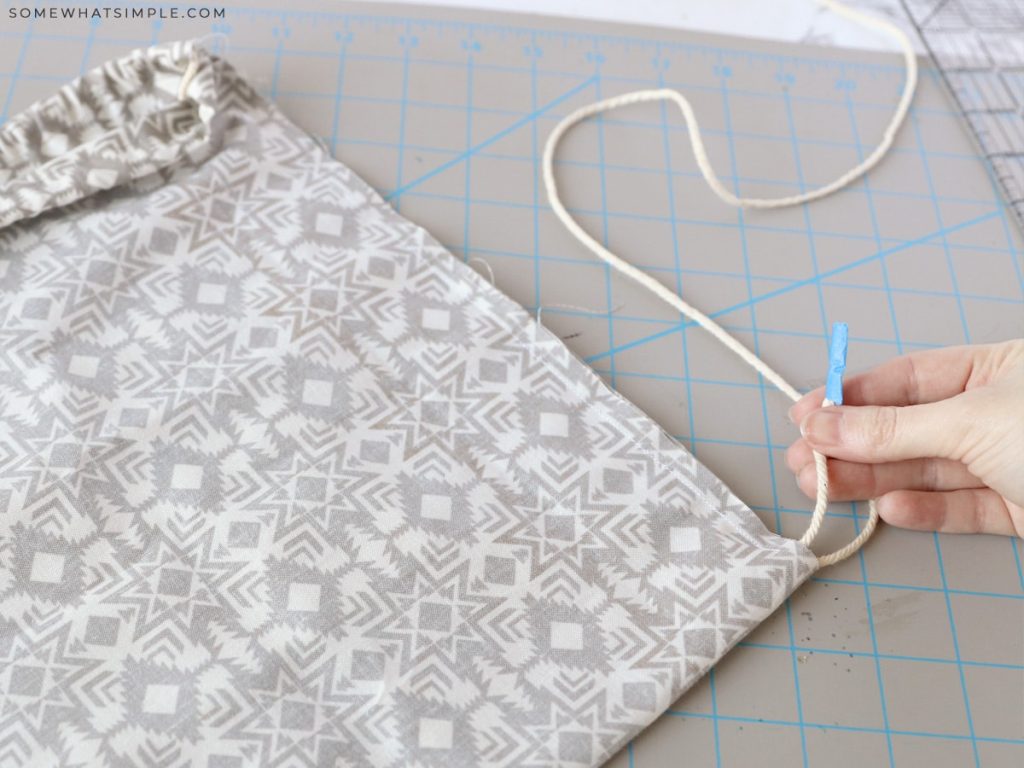
STEP 12 – Insert down through the middle of the bag and pull the end out of the bottom right. Now. Take the second string and repeat it on the other side, but backward. 😉
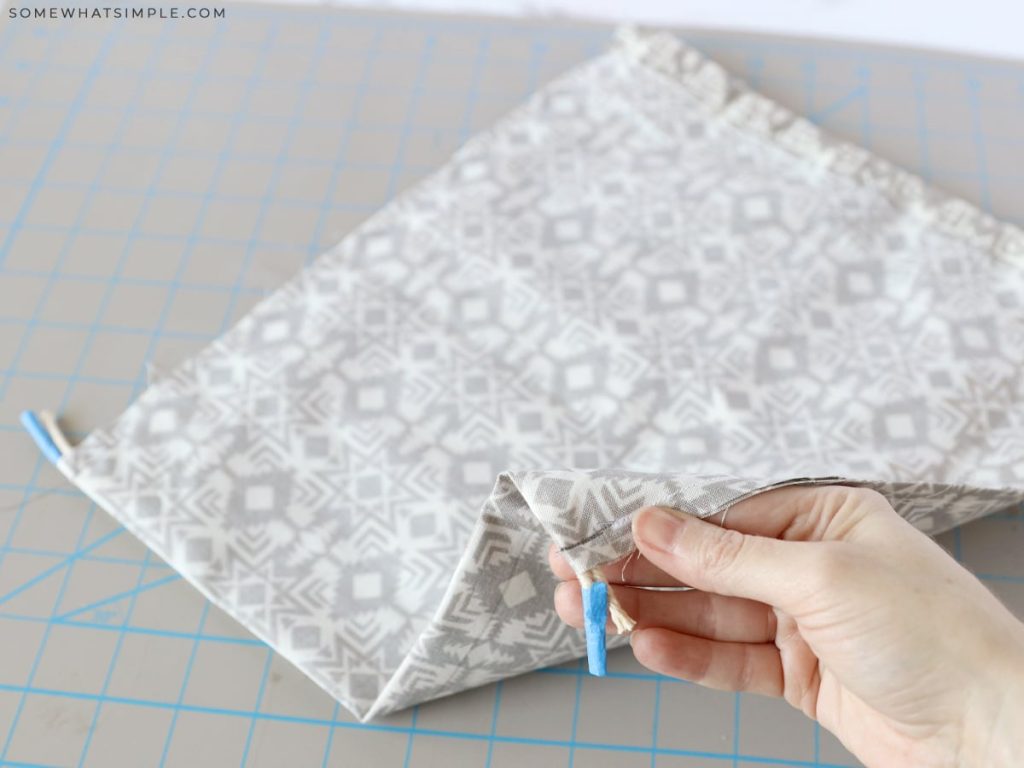
STEP 13 – Trim your ends, then sew a straight line along the sides of the bottom to secure your ribbon or thread. Turn the bag right-side out, and voila! You’ve got a cute little tote bag!





I love this!
Thanks for sharing this awesome and unique idea!
Cheers,
Dorothee
Love this.Thanks for posting!
Thanks for sharing this great idea!
I’ll pin it right away.
Bente
I love this idea!!!
That bag is very clever. I want to make them for my grand daughters.
I like this!