Watercolor Shirt Tutorial
This post may contain affiliate links. Read our disclosure policy.
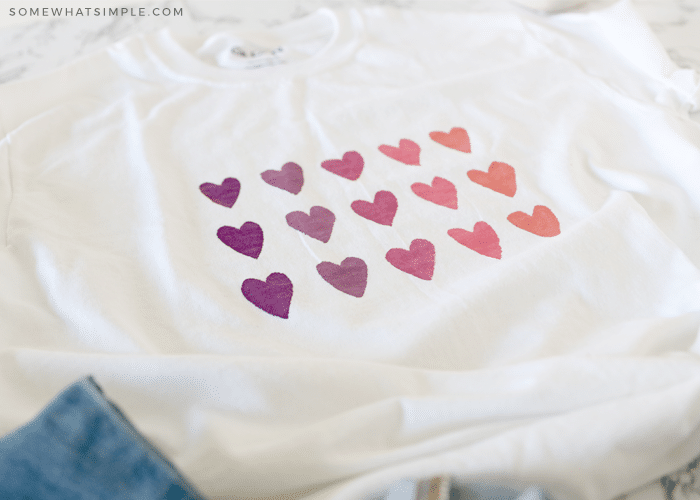
A fabric dye Watercolor Shirt is a fun and easy project that kids of all ages can do!
Here are a few more activities for kids we think you’ll love – Animal Headbands, Sharpie Mugs, and Paper Bag Kites.
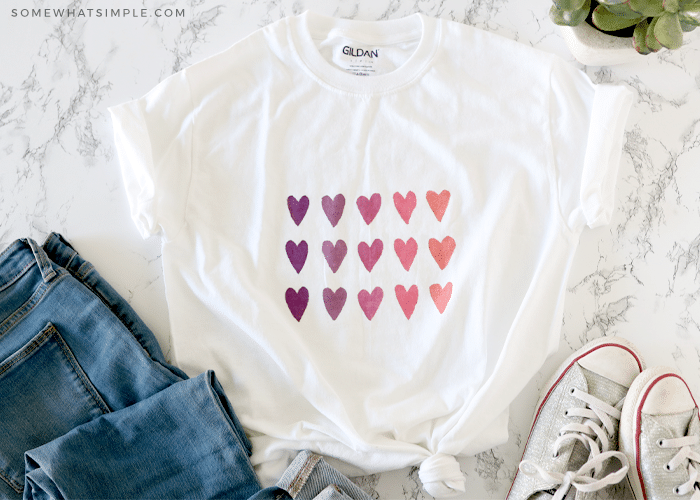
I’m pretty certain that every child in the entire world loves to paint, right? This fun watercolor shirt idea is a fun activity that they can make and then wear! Are you ready to have a VERY proud little artist on your hands?
Here’s how to do it –
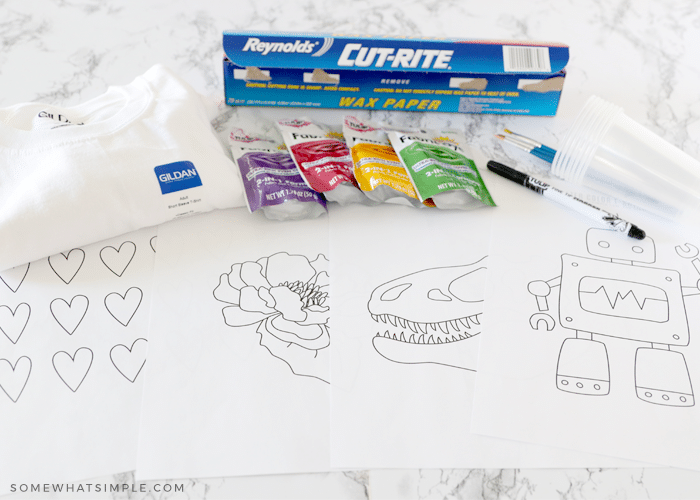
How to Make a Watercolor Shirt
MATERIALS –
- fabric dye – you can use liquid or powder
- warm water
- plastic cups or bowls
- paintbrushes
- light-colored or white t-shirt
- wax paper
- coloring templates, optional (download below)
- fabric marker, optional
- salt, if you’re using powdered dye
DIRECTIONS –
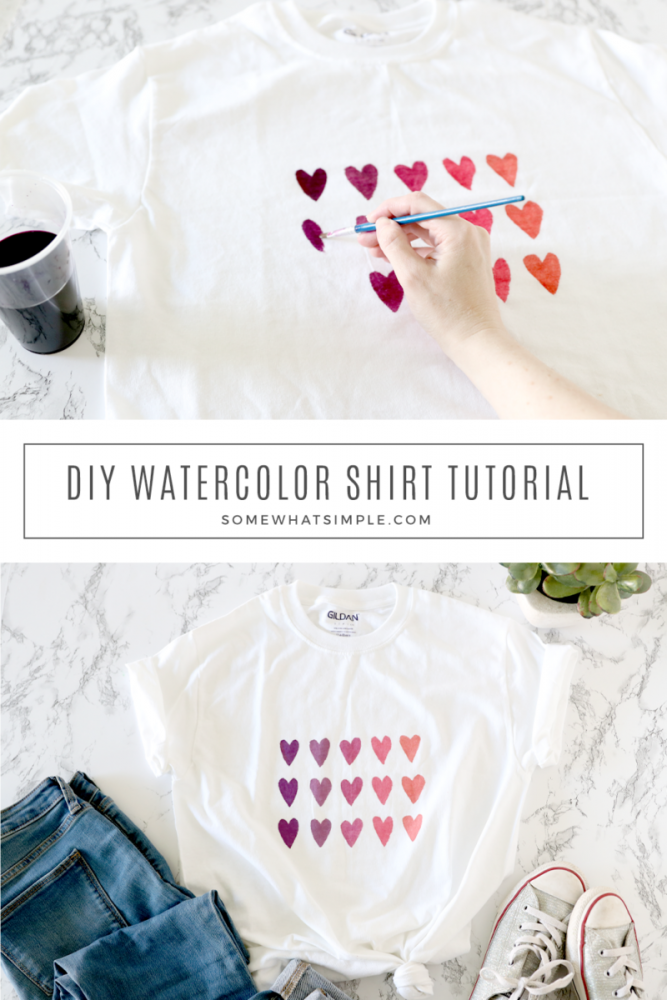
- Fill your cups up with warm water and add the die in small amounts until you get your desired colors. If you’re using powder dye, you’ll need to add the recommended amount of salt, too.
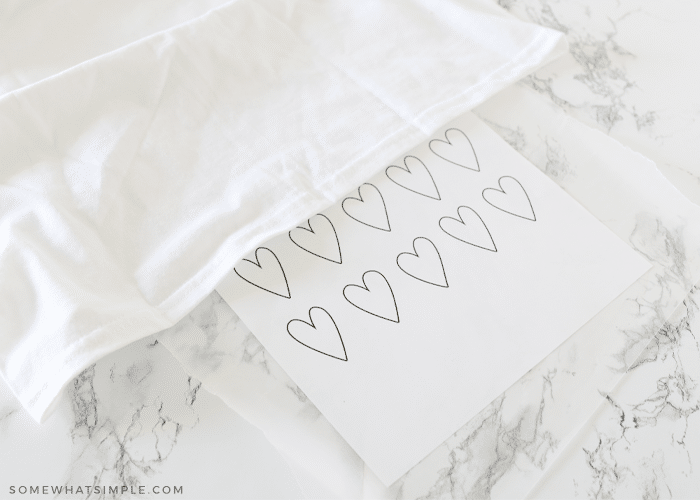
- Lay your t-shirt on a flat surface, then place a piece of wax paper inside the shirt to keep the dye from bleeding through onto the backside.
- If you’re using a printable design, place the piece of paper inside the shirt, on top of the wax paper. You can use a fabric marker to trace your design on top of your t-shirt if the design is hard to see. Use caution to ensure that your marker lines don’t bleed when it gets wet with the dye.
- Start painting!
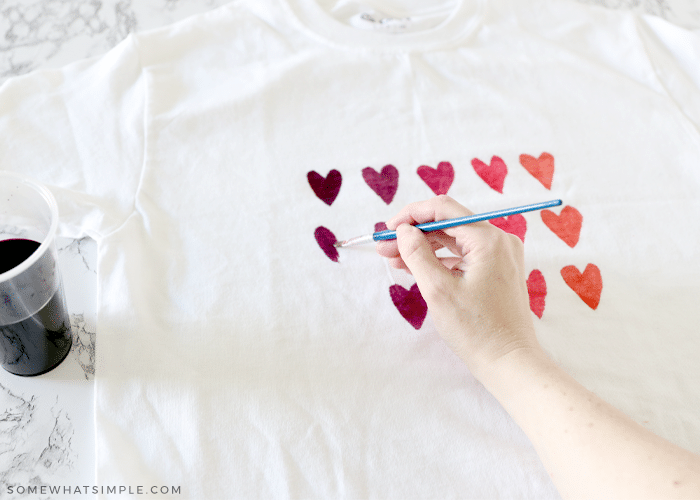
The hardest part of this entire project is waiting for the watercolor to dry! My kids couldn’t wait to wear their t-shirts! (Kids aren’t typically the most patient. 😉)
Now that their shirts are finished, it is so fun seeing the kids wear them!
Watercolor Templates
Enter your name and email address below to get free access to our fun templates –
We hope you have so much fun with this project! Enjoy!


I’m a adult and I totally love this idea for myself! 🙂
Oh!! Thank you Pamela. This would make a Great project for Adults too 🙂